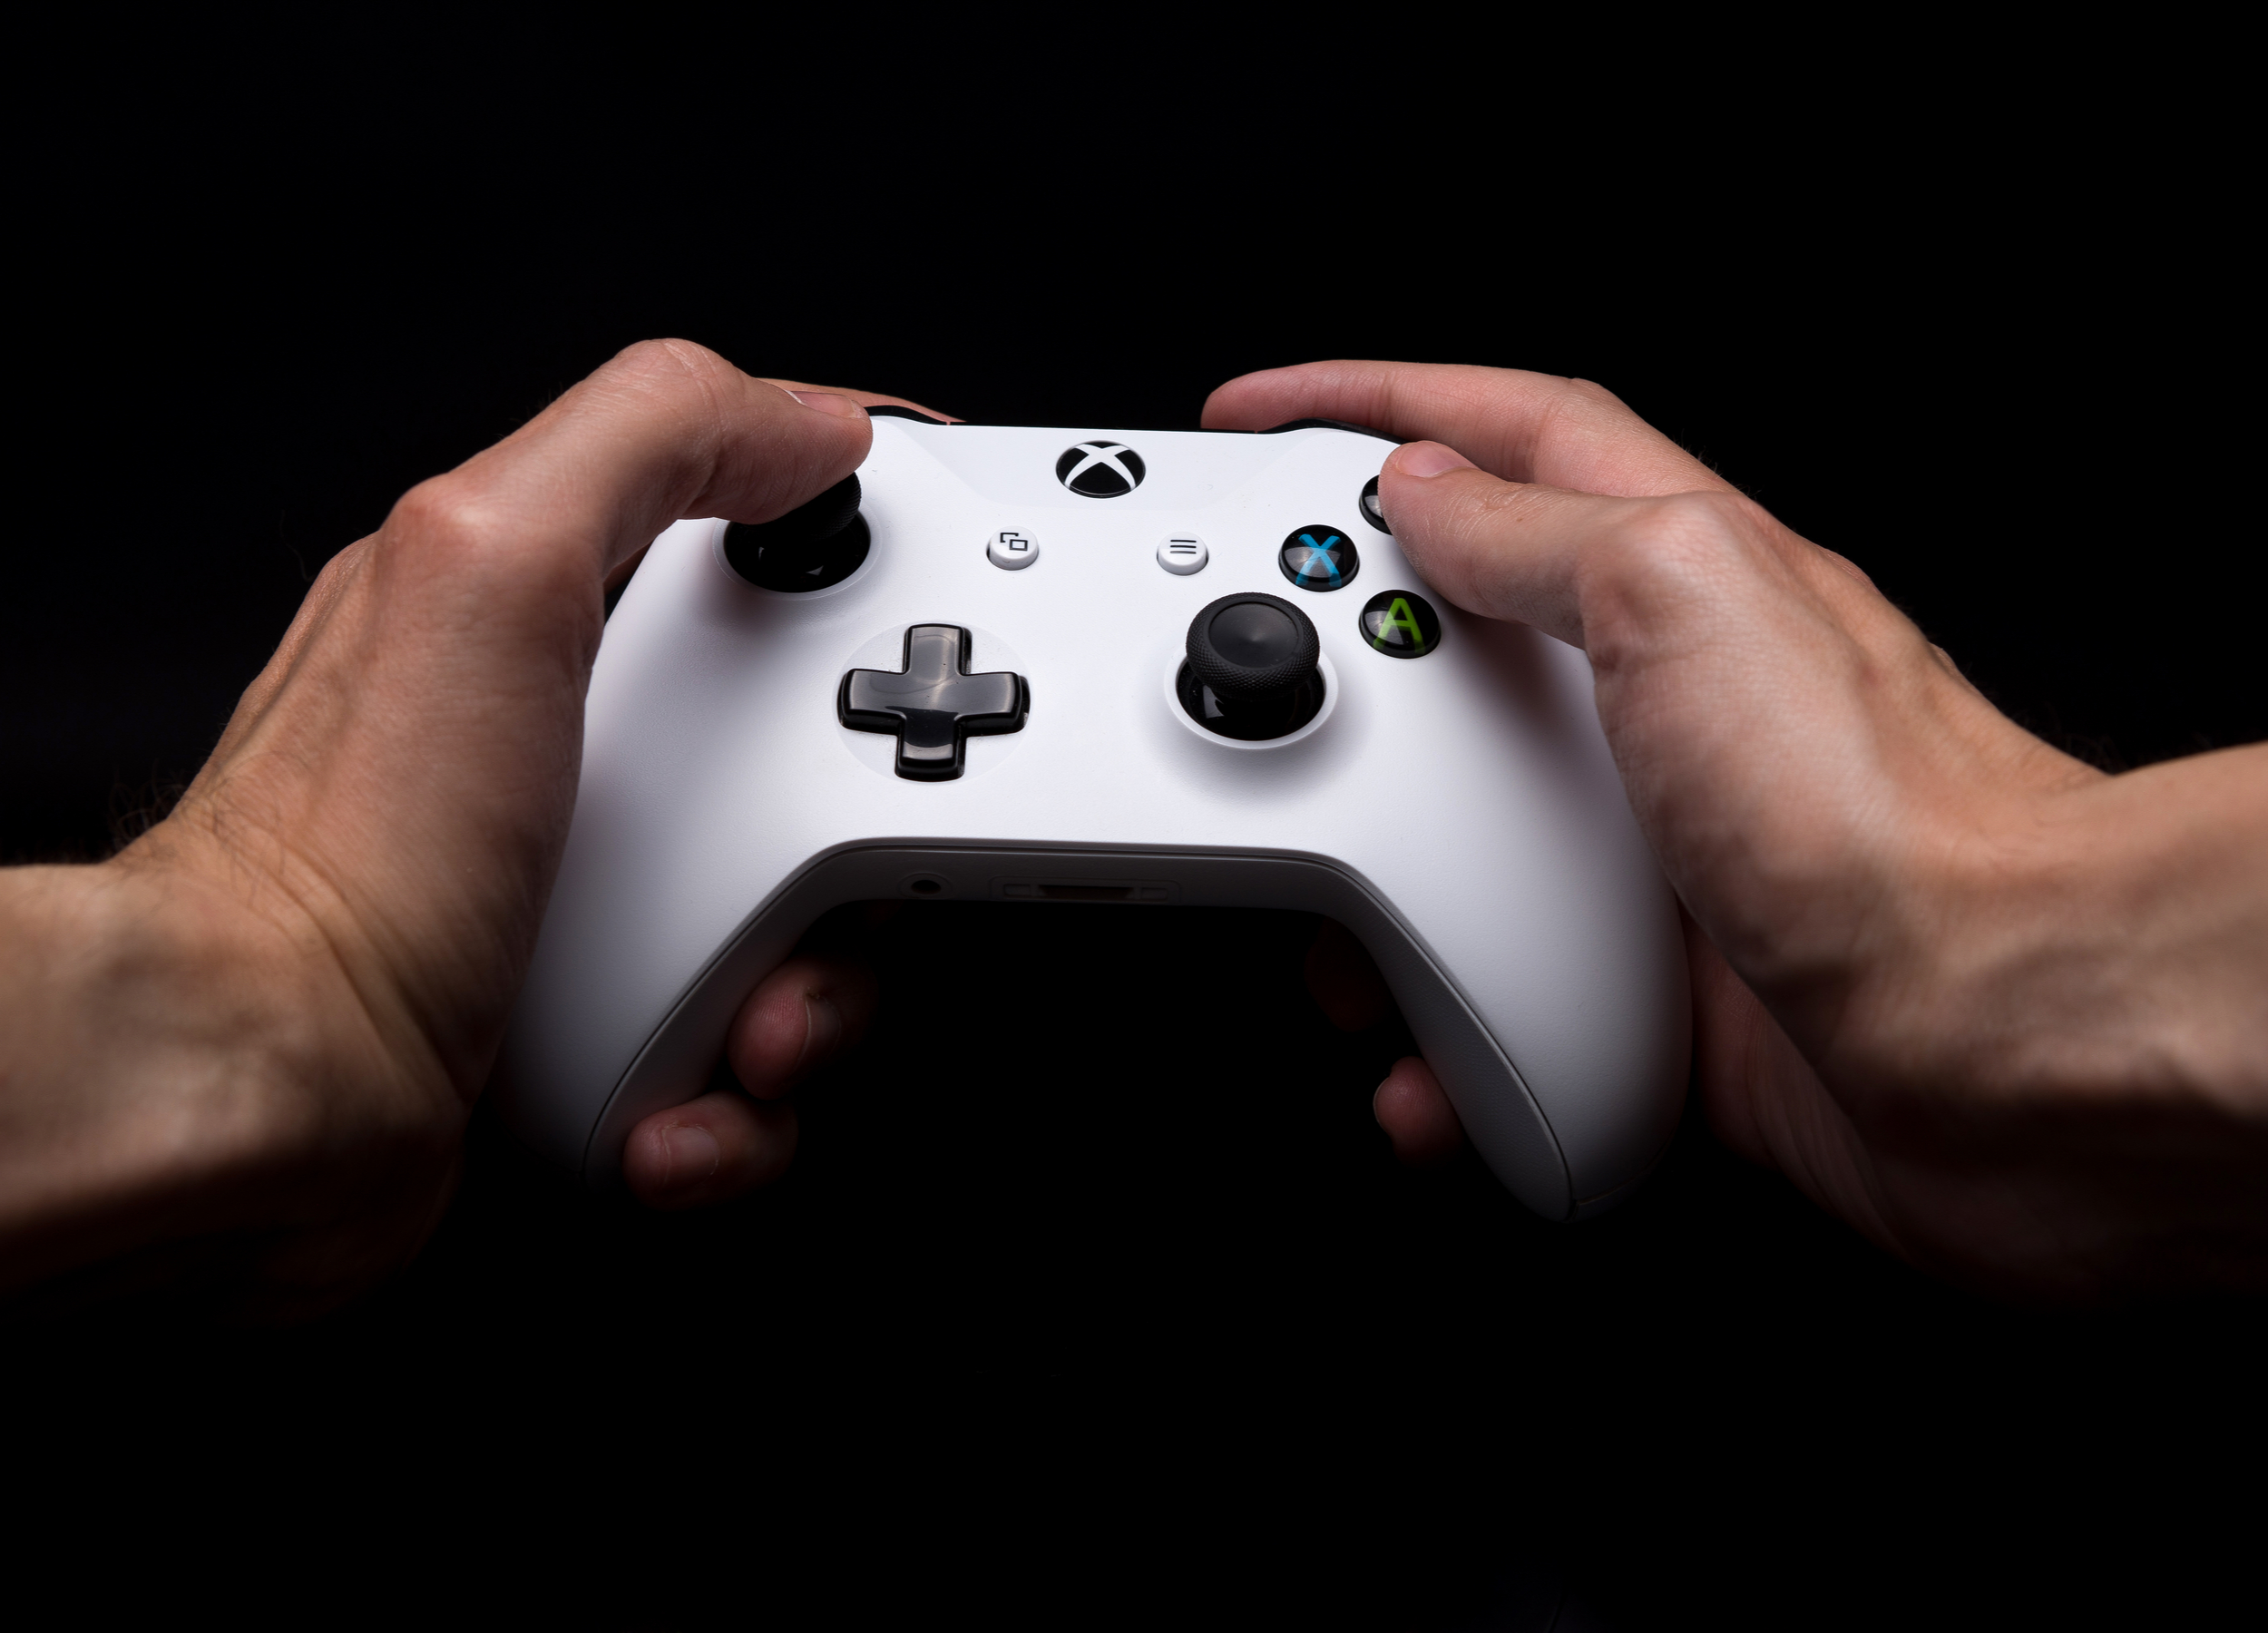
- You can turn off the vibration feature on your Xbox One controller using your console or a Windows 10 PC.
- The vibration feature is used to create immersive gameplay for many Xbox One games.
- Here’s how to turn off the vibration feature on your Xbox One controller.
- Visit Business Insider’s homepage for more.
When it comes to gaming, immersion is key to ensuring that the product has the gamer’s full, undivided attention. To that point, controller vibration provides some type of pseudo-immersion, allowing players to feel certain in-game events in real-time.
However, the controller vibration feature can be intrusive to some. In the past, if you wanted to remove the vibration feature on your game controller, you would have to manually disable it by going into your in-game settings and turning it off. Fortunately, Microsoft now allows users to completely disable controller vibration for any games that use the feature in one place.
Here’s how to turn off vibration on your Xbox One controller in 2 different ways.
Check out the products mentioned in this article:
Xbox One X (From $499.99 at Best Buy)
Xbox One Wireless Controller (From $59.99 at Best Buy)
Microsoft Surface Pro 7 (From $999 at Best Buy)
How to turn off the vibration feature on your controller using your Xbox One
1. Power on your Xbox One system and press the Xbox button on your controller, then scroll and select “Settings.”
2. In "Settings, " scroll down to "Devices & streaming," and then click on "Accessories."
3. Choose the controller that you wish to modify, then select "Configure." If you have a wireless Xbox controller, select "Turn off Vibration." If you have an Xbox Elite or Elite Series 2 controller, select "Edit" and then "Vibration" to remove or re-enable the vibration.
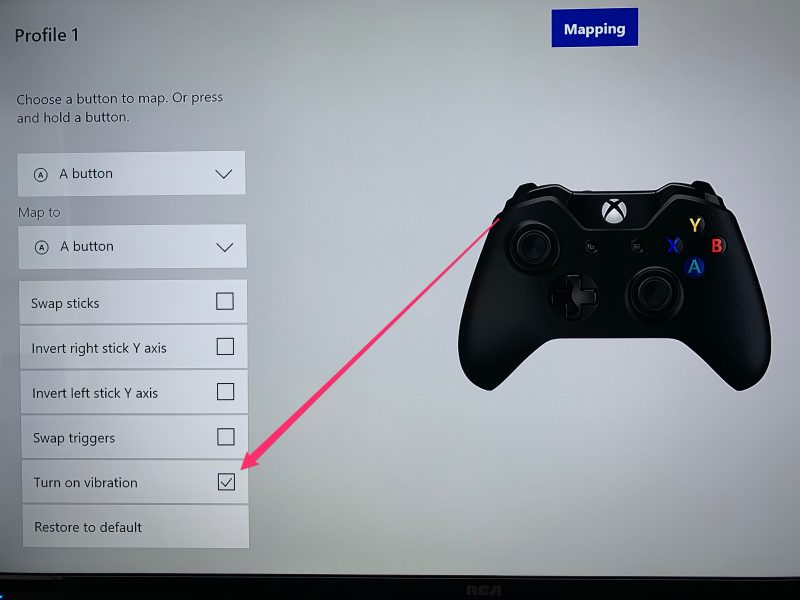
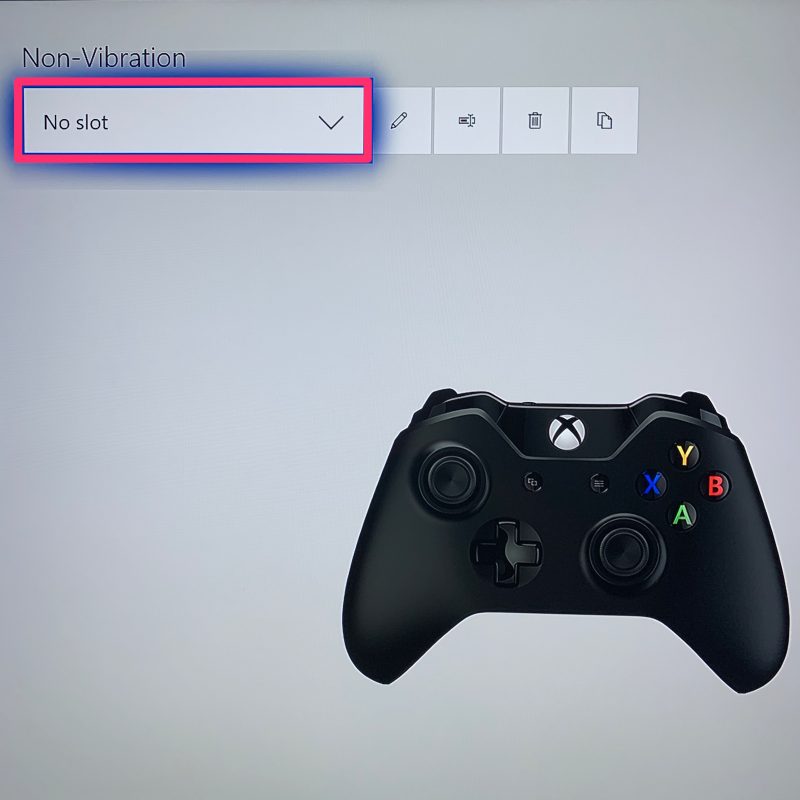
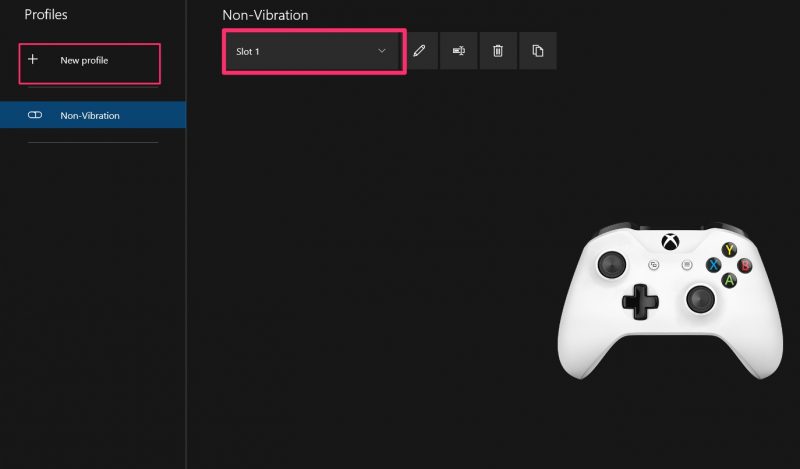
4. To make this configuration your default, in the dropdown box at the top of your configuration profile, select "Slot 1."
How to turn off the vibration feature on your controller using your Windows 10 PC
1. Turn on your Windows 10 PC and launch the Xbox Accessories app, or download it from the Microsoft Store.
2. Plug your controller into your PC using a USB cable, or use your Xbox One wireless adapter.
3. After your controller appears in the app, click "Configure." You will most likely see the default configuration settings, so select "New Profile" and then uncheck the "Vibration" box, this will allow you to easily switch the vibration of your Xbox One controller on or off.
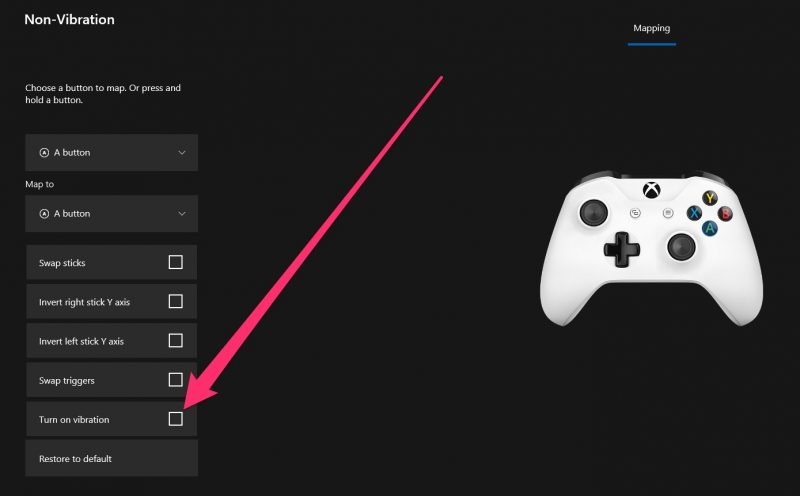
4. To make this configuration your default, in the dropdown box at the top of your configuration profile, select "Slot 1."
Related coverage from How To Do Everything: Tech:
-
How to add friends on your Xbox One in 2 different ways
-
'Why won't my Xbox One connect to Wi-Fi?': 5 ways to troubleshoot your Xbox One's internet connection
-
How to update your Xbox One controller in 3 different ways
-
How to find your Xbox One's IP address or set up a static IP address on the console
