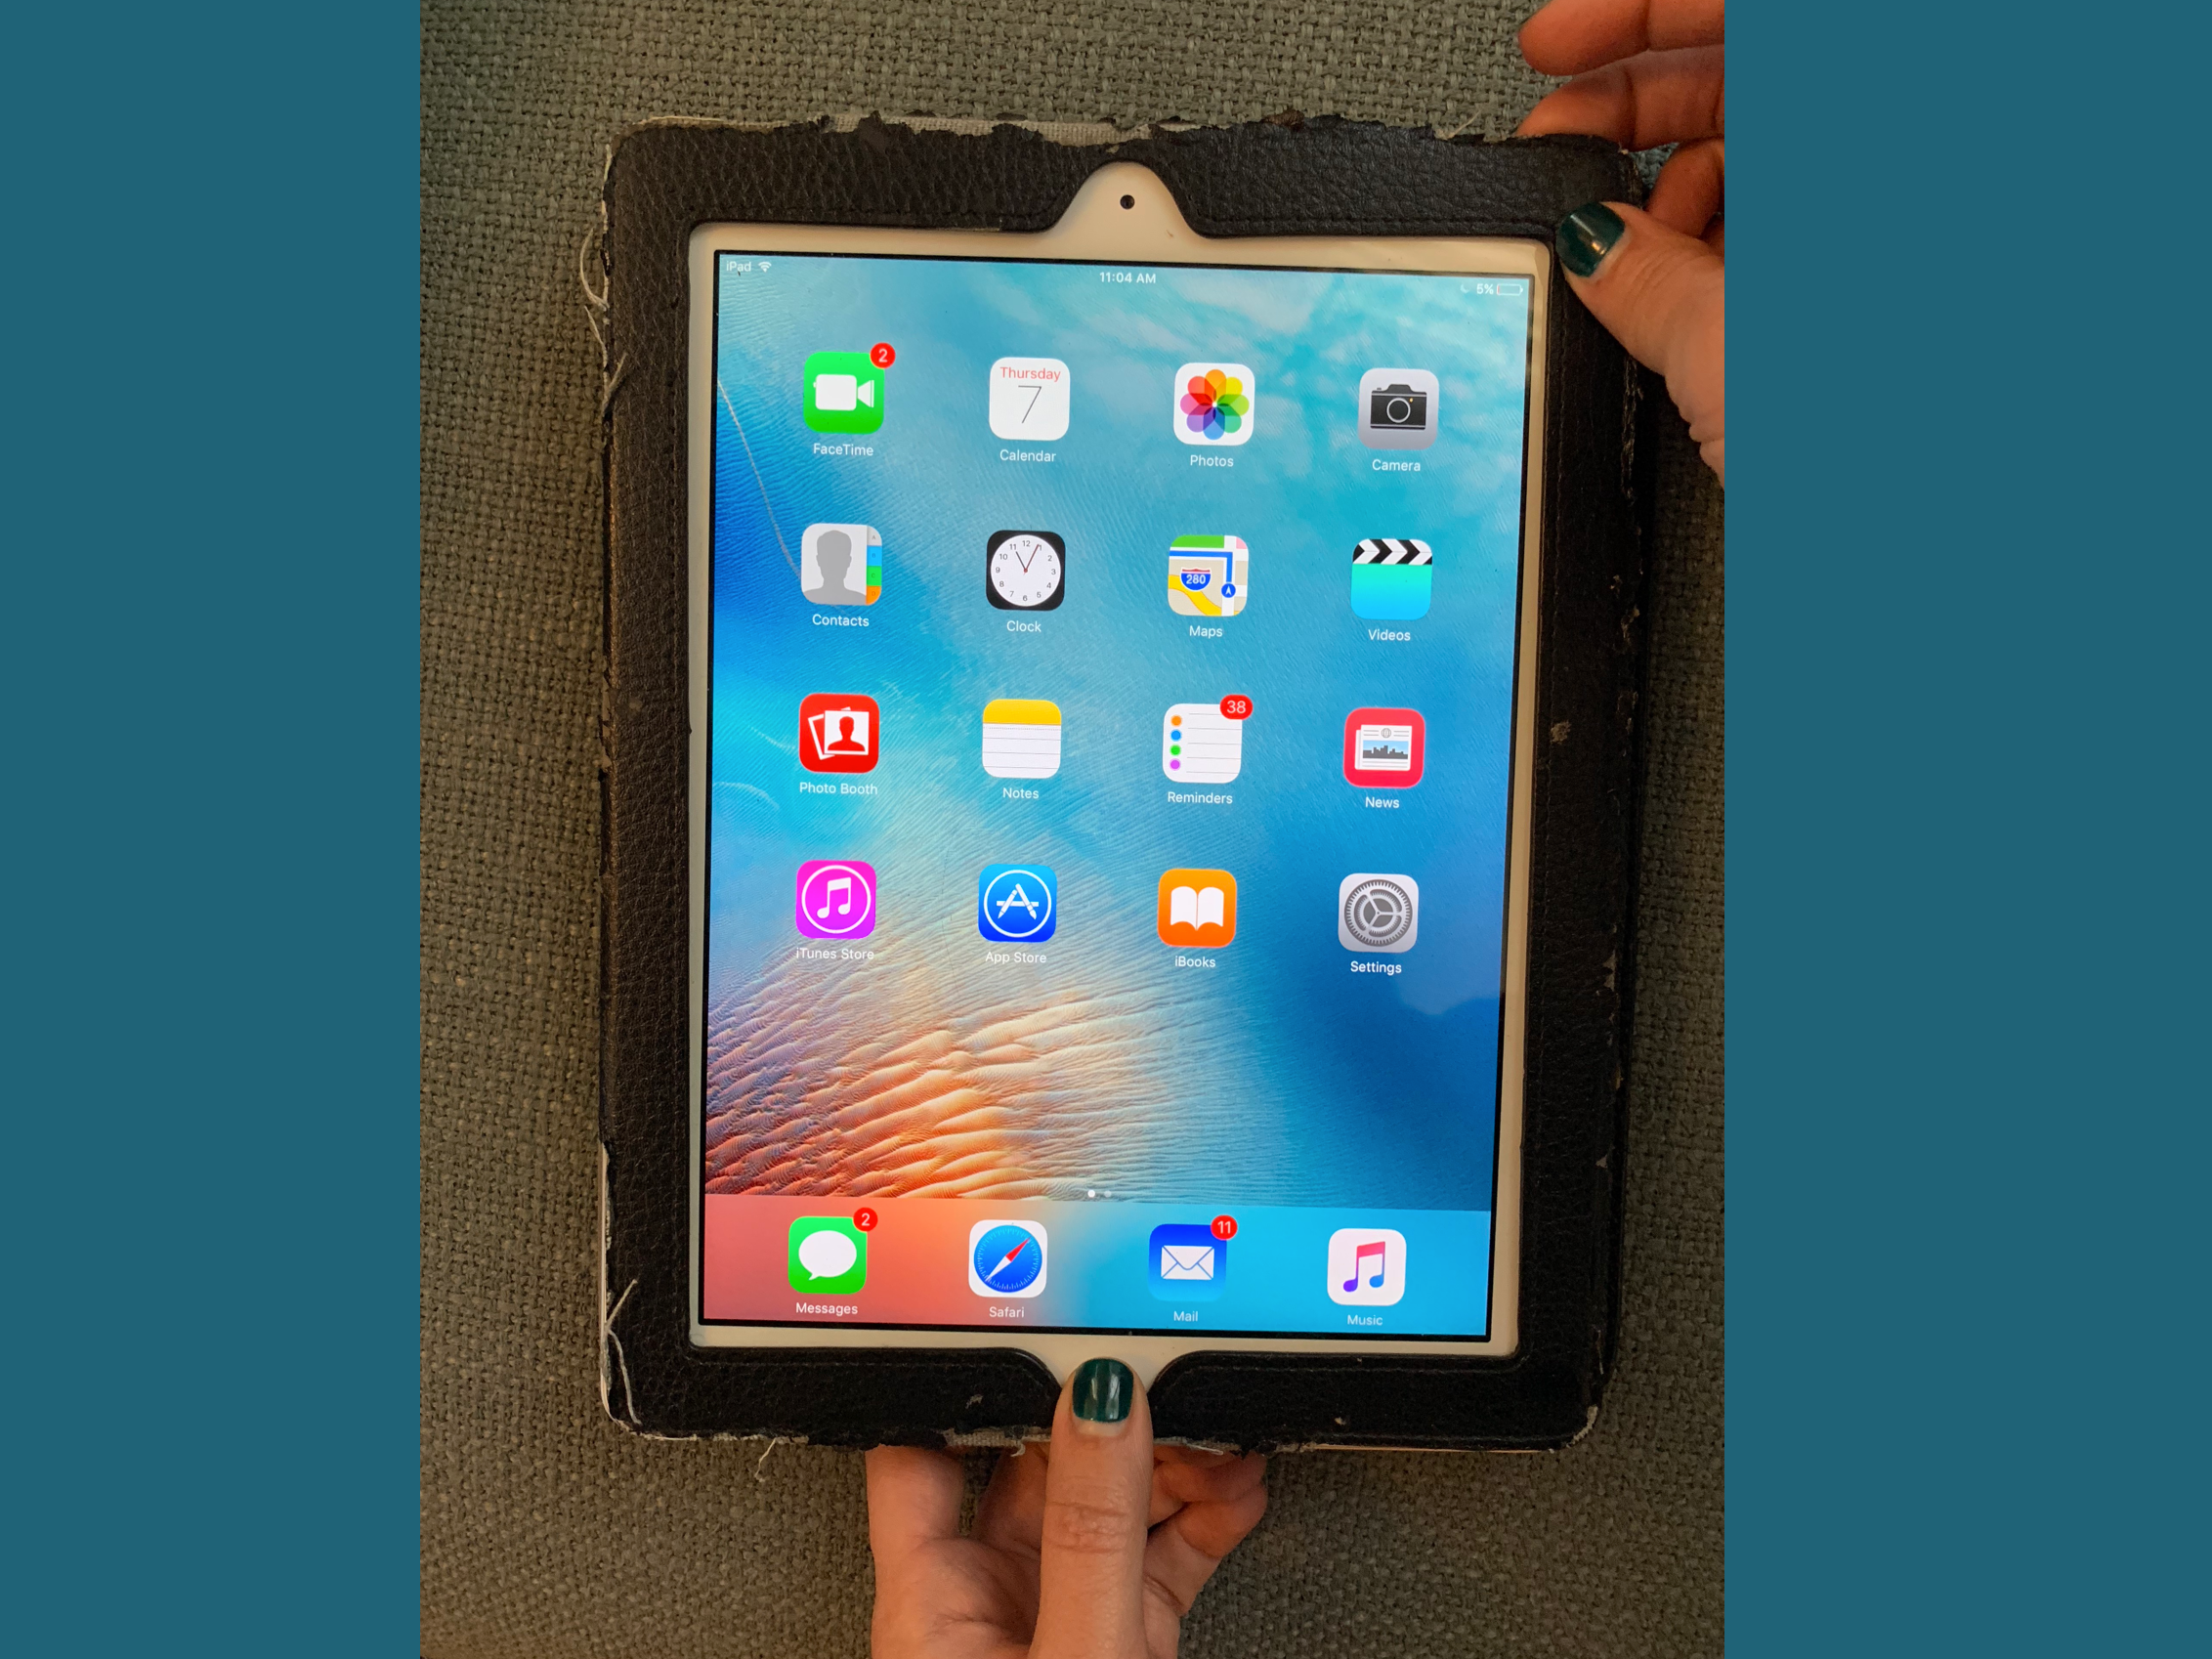
- You can easily take a screenshot on any iPad model to capture your display screen in a photo, though the methods differ depending on the device you own.
- If you have an older iPad, you’ll need to press the iPad’s power button and home button in order to take a screenshot.
- If you have a 2018 iPad Pro or later, you’ll have to press the power button and the volume up button, as the device does not have a home button.
- Your screenshots will automatically be saved to your iPad’s Photos app, where you can then organize the images.
- Visit Business Insider’s homepage for more stories.
I tend to have a love-hate relationship with screenshots on my iPad. On the one hand, it makes things so easy that it’s become an integral part of my record-keeping process. When I schedule my credit card payment or a bank transfer, I take a screenshot that I can refer back to.
The flip side, however, is that if I’m taking a screenshot on my laptop, they save directly to my desktop, which can leave my desktop feeling extra-cluttered.
That’s why I love to take screenshots on an iPad. When you take a screenshot on your iPad, it saves the photo directly to your camera roll, instead of the main iPad interface. So whether you’re taking a screenshot of a recent ETF purchase in your brokerage account, or you’re capturing your three-year-old nephew’s precious face over Skype, all your screenshots are saved in one convenient place.
Now, it’s just a matter of actually taking the screenshots. Here’s what you need to find on your iPad or iPad Pro in order to effectively take a screenshot:
1. The home button. You'll find the home button below the illuminated iPad display screen. It's in the middle of the bottom panel of your iPad.
2. The power button. The power button will be along the perimeter of your iPad, as opposed to on the iPad display screen. You'll find a raised, oval button on the top right of your iPad. That's your power button!
3. If you have a 2018 iPad Pro, the volume buttons. Because there is no power button on the 2018 iPad Pro, you'll use the button that raises the volume.
How to take a screenshot on an iPad or iPad Pro

Once you've located the buttons, it's time to actually take your screenshot. Here's a step-by-step guide:
1. Locate the page you want to screen shot, and bring it up on your iPad such that you have all the info you want to capture in the display.
2. Hover one finger over the power button and another finger over the home button. If you have an iPad Pro, you should instead hover one finger over the power button and another over the volume up button.
3. Simultaneously click the power button and the home button. (Or simultaneously click the power button and the volume up button for an iPad Pro.)
4. If the screenshot is done correctly, your iPad display will flash briefly and you will hear a soft camera shutter sound effect (unless your iPad is silenced).
5. Find your screenshot in your Photos app.
How to keep your iPad screenshots organized

Remember that once you've taken a screenshot and found it in your Photos app under "screenshots" and your "camera roll," but you can alo put your screenshots into various albums to better organize your iPad.
To do so, you have to create albums within your photos app. First, go to the photos app on your iPad. Then select the albums tab which will be along the bottom of the photos app. Once you are in the albums section, press the plus sign in the top left corner to create a new album.
And voila, now you can create an album just for screenshots of your nephew or your bank transaction receipts.
