aetb/Getty Images
- Painting your kitchen cabinets can be a simpler, budget-friendly alternative to replacing them.
- Preparing your space and choosing your paint type are essential in this DIY project.
- Sanding your cabinets may not be necessary depending on the paint you use.
- Visit Insider's Home & Kitchen Reference library for more stories.
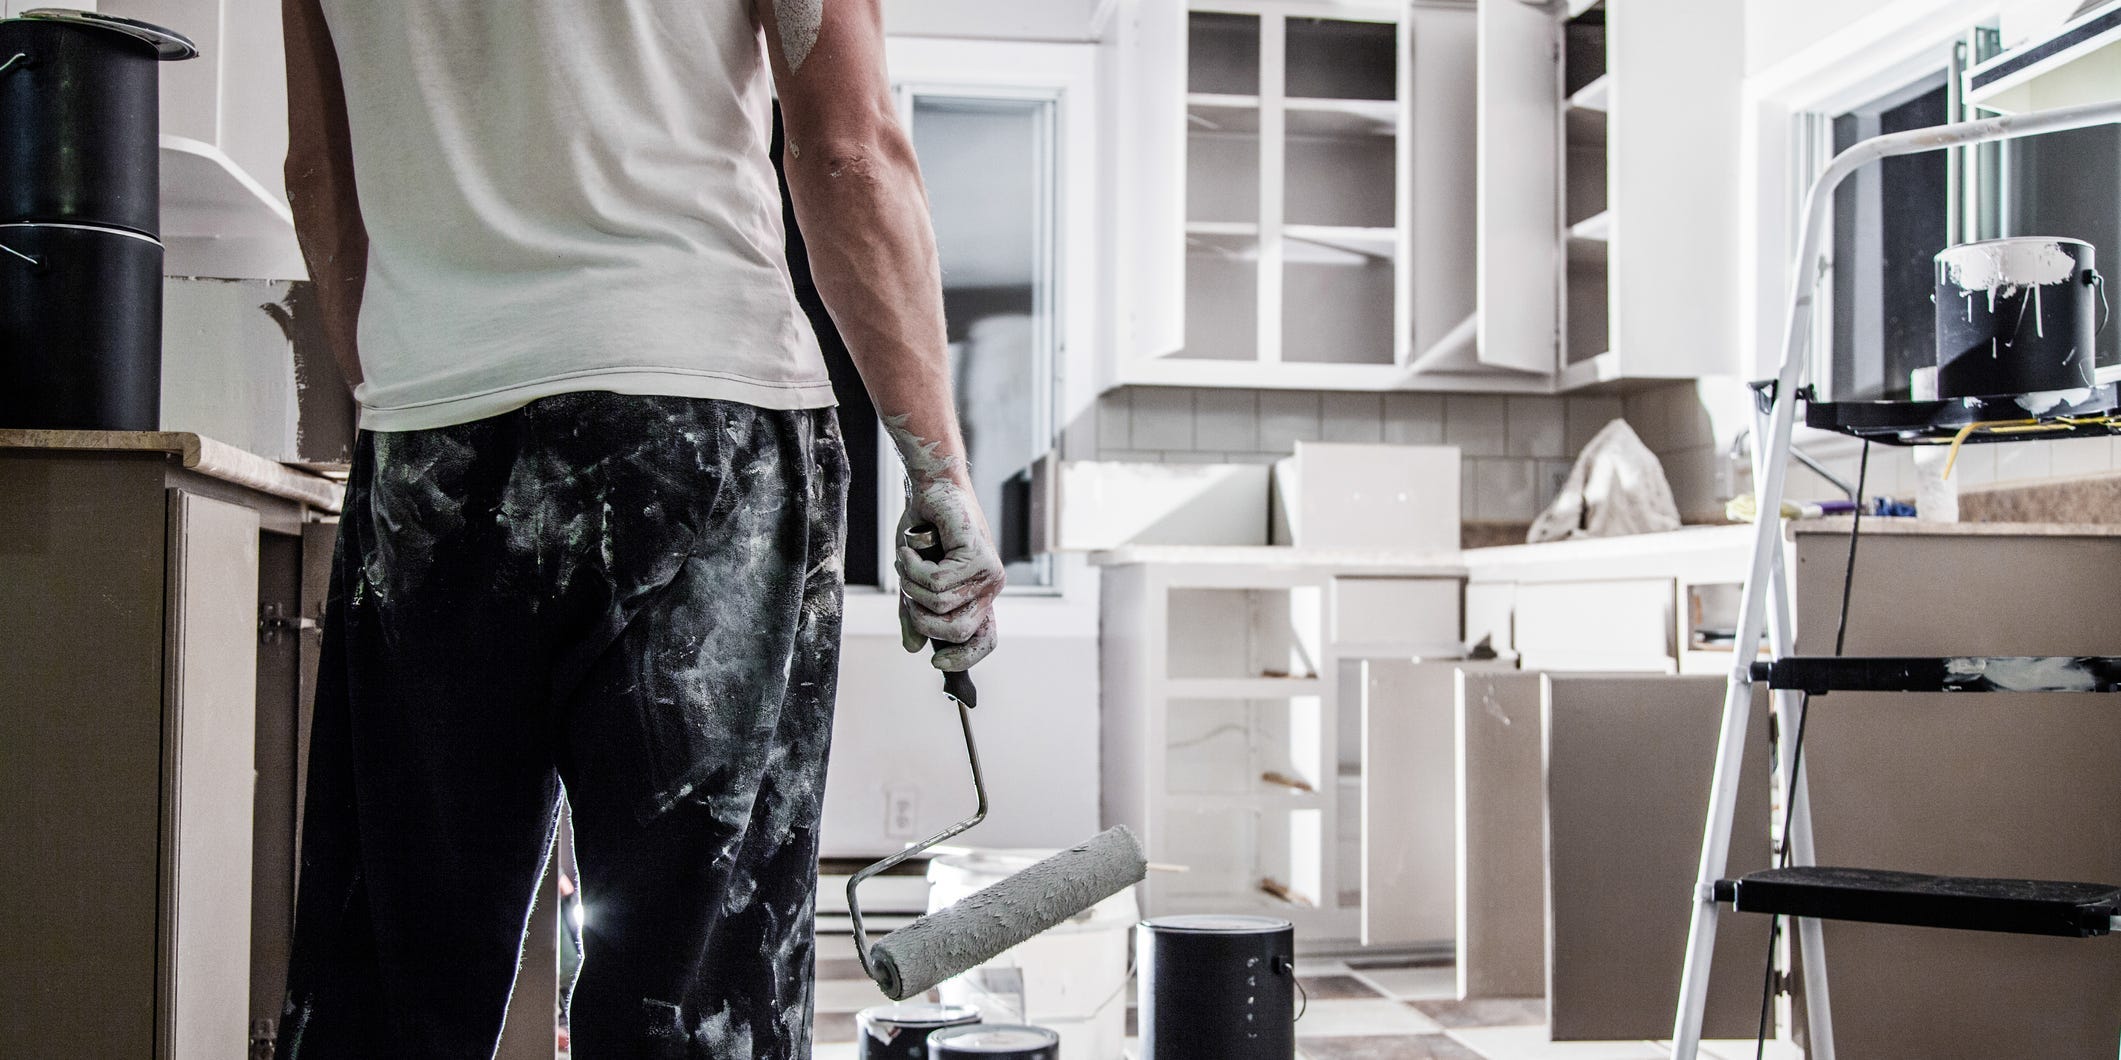
Whether you're getting ready to stage your home to sell, or just want to give your home a new look, renovating a kitchen can be one of the most expensive and time-consuming home projects. But one of the simplest DIY practices for your kitchen can be painting your cabinets for a more affordable and personalized revival.
Jonathan Rios, professional painter and owner of Rios Interiors, offers his best tips on the painting process so you can give your kitchen the refresh you've been pining for.
What type of paint to use
Miro Vrlik / EyeEm/Getty Images
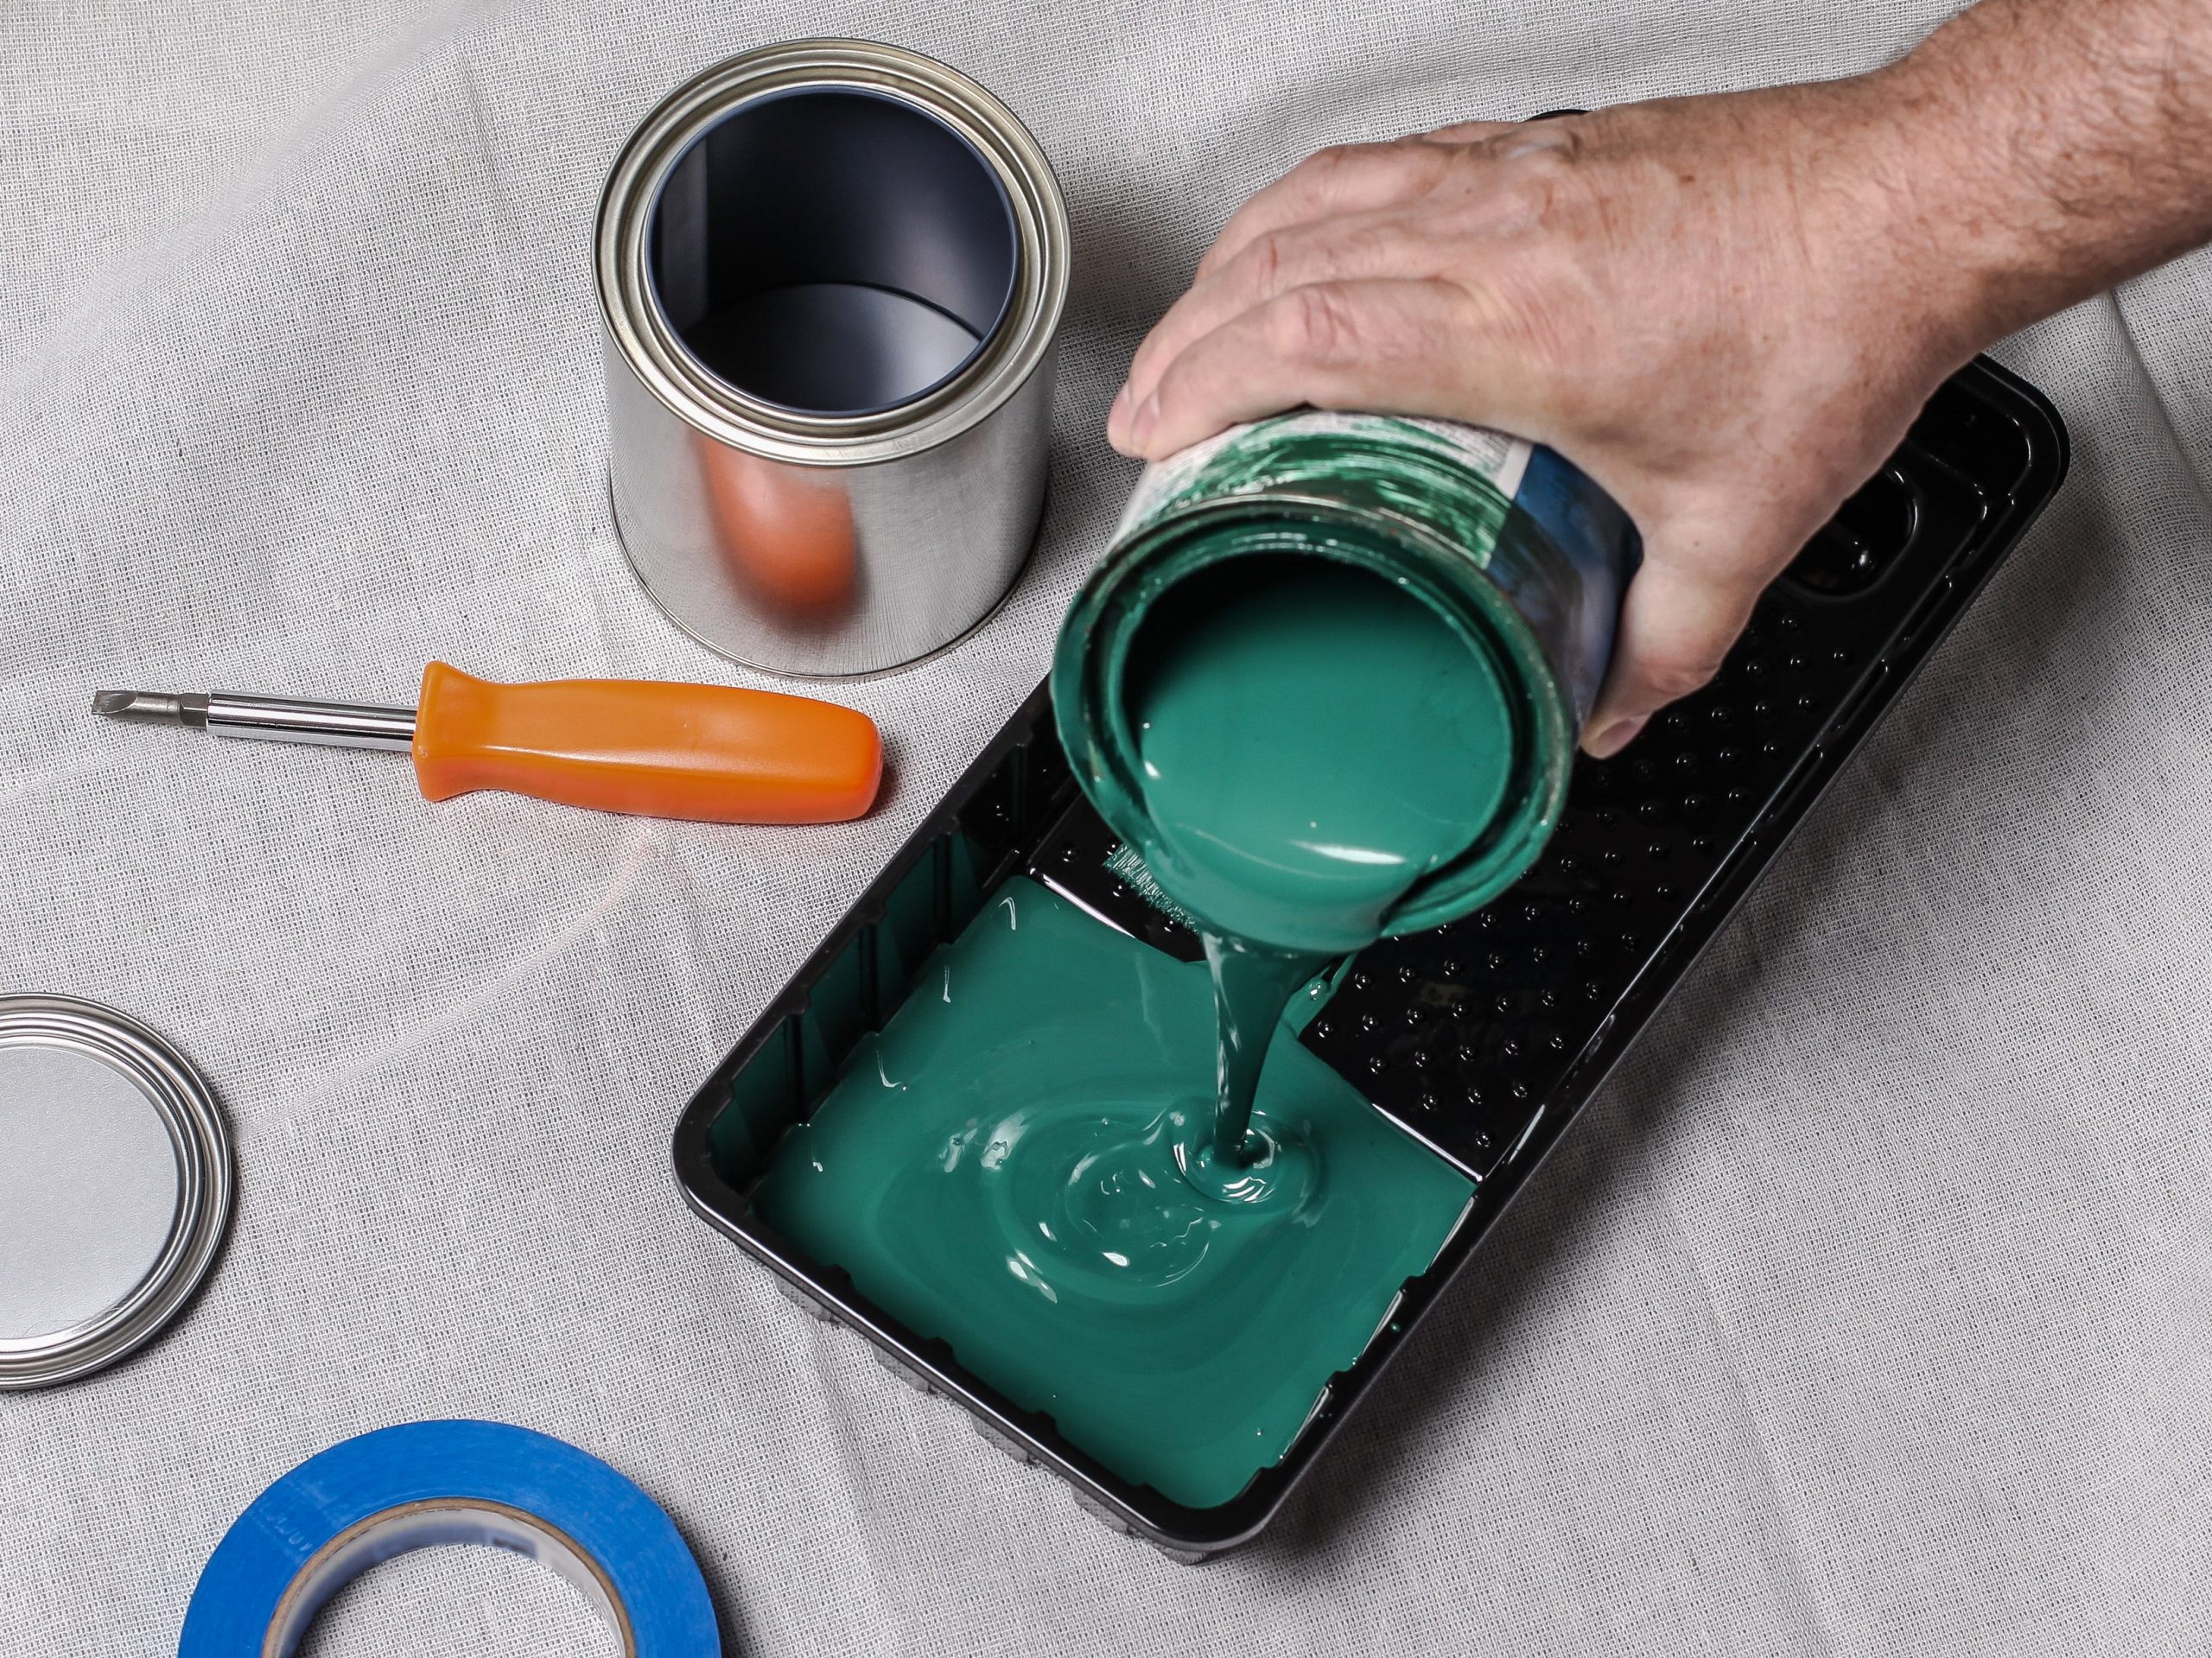
Choosing the best paint for your kitchen cabinets takes more than just deciding on color. Whether you have wood, metal, or laminate cabinets, it's important to know which paint type will work on the material for long-lasting results.
While wood and metal cabinets are easy to identify, laminate cabinets might require a bit more inspection. If your cabinets have a glass-like, plastic appearance and/or a printed finish, you likely have laminate cabinets.
Here is a quick run-down of the most popular types of paints and what they're best for.
Once you've chosen your paint, it's time to gather your materials and prepare your kitchen for painting.
How to skip the sanding process
While Rios recommends sanding for best results on most cabinets, he suggests using high-quality primer and paint if you want to skip it. "If the cabinets have grease, dirt, or soot the paint will not adhere properly," he says. "If no sanding is done, a good primer and quality paint are a must."
If you're skipping the sanding process, using a satin enamel paint will offer the best finish and most durability for your kitchen cabinets. However, if you choose a latex paint without sanding, scrub your cabinets with a sponge and damp cloth to remove all residue. Next, use a degreaser like dish soap for an extra cleanse. Finally, use a liquid sander deglosser for a smooth finish.
Prepare your space
Grace Cary/Getty Images
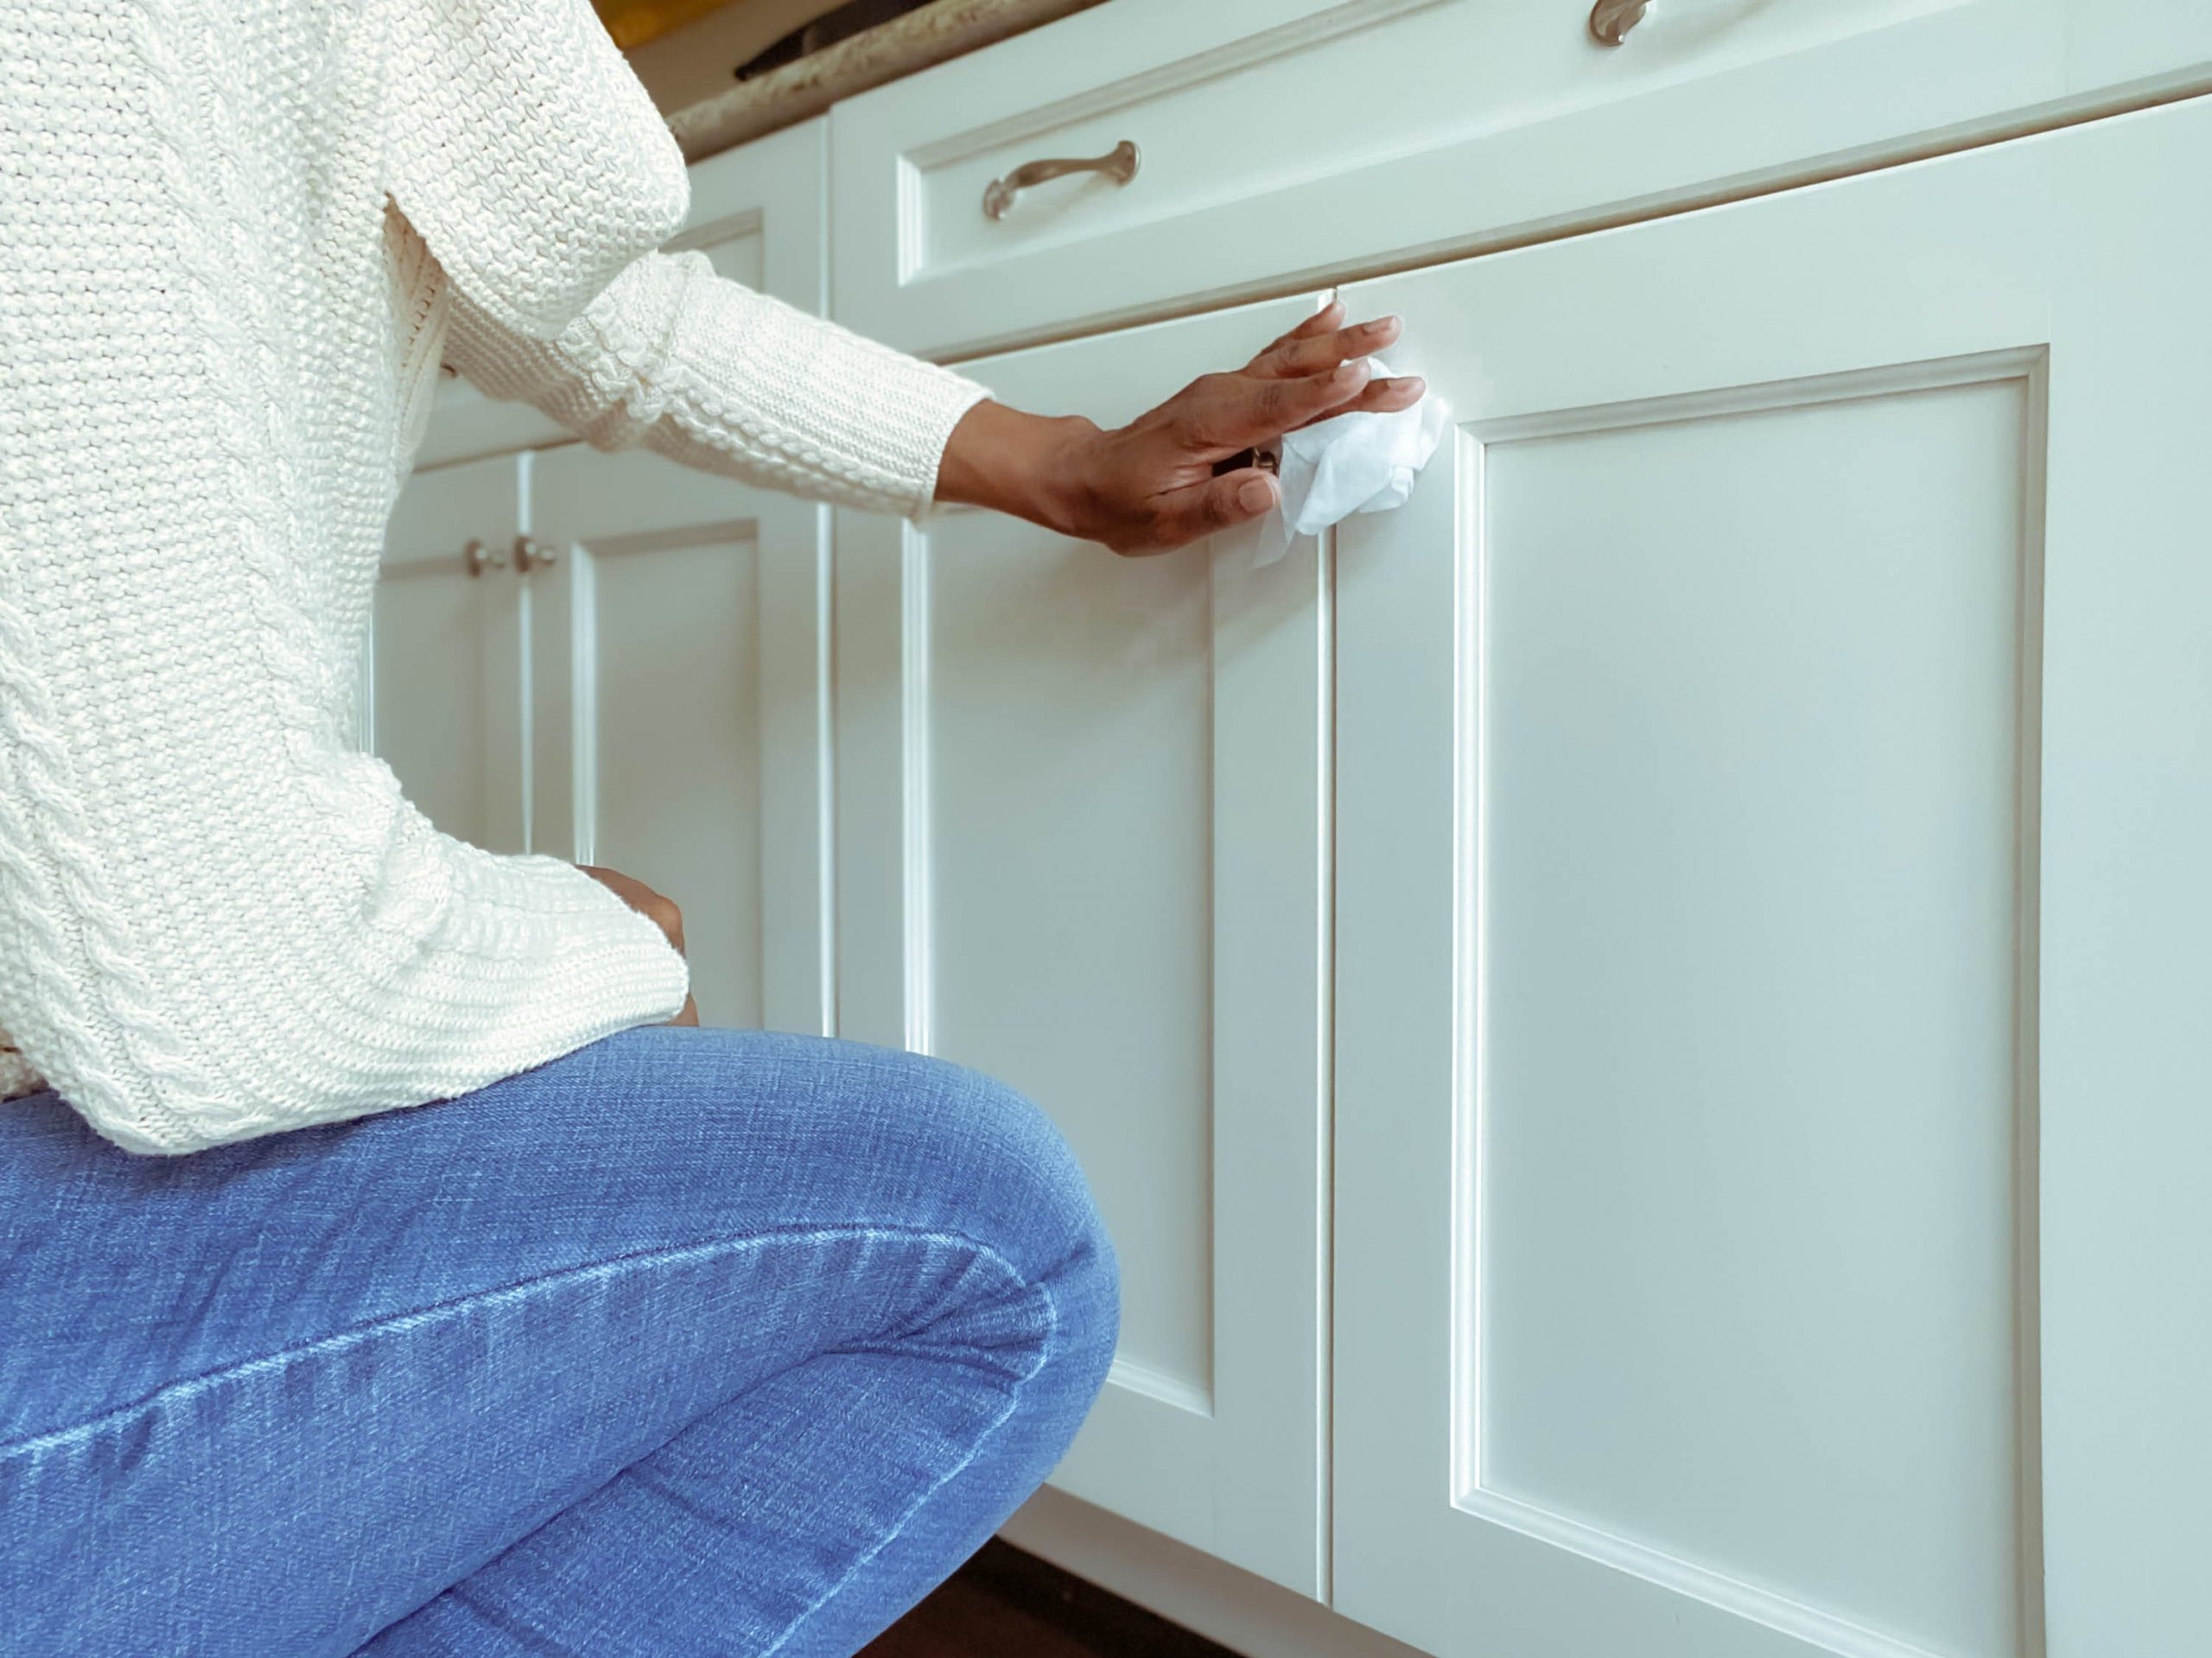
Before painting anything, make sure your space is prepped for your project. That includes clearing out your cabinets, wiping them down, and protecting your surfaces by laying out drop cloths or large towels.
"Remove all dishes, and anything you don't want any paint on and thoroughly protect everything else with plastic and tape," says Rios. "Using a degreaser spray first and then a dry cloth, clean off all residue and any debris from all cabinetry."
Make sure to have all your tools and materials handy to achieve the most convenience from the step-by-step process.
Painting kitchen cabinets
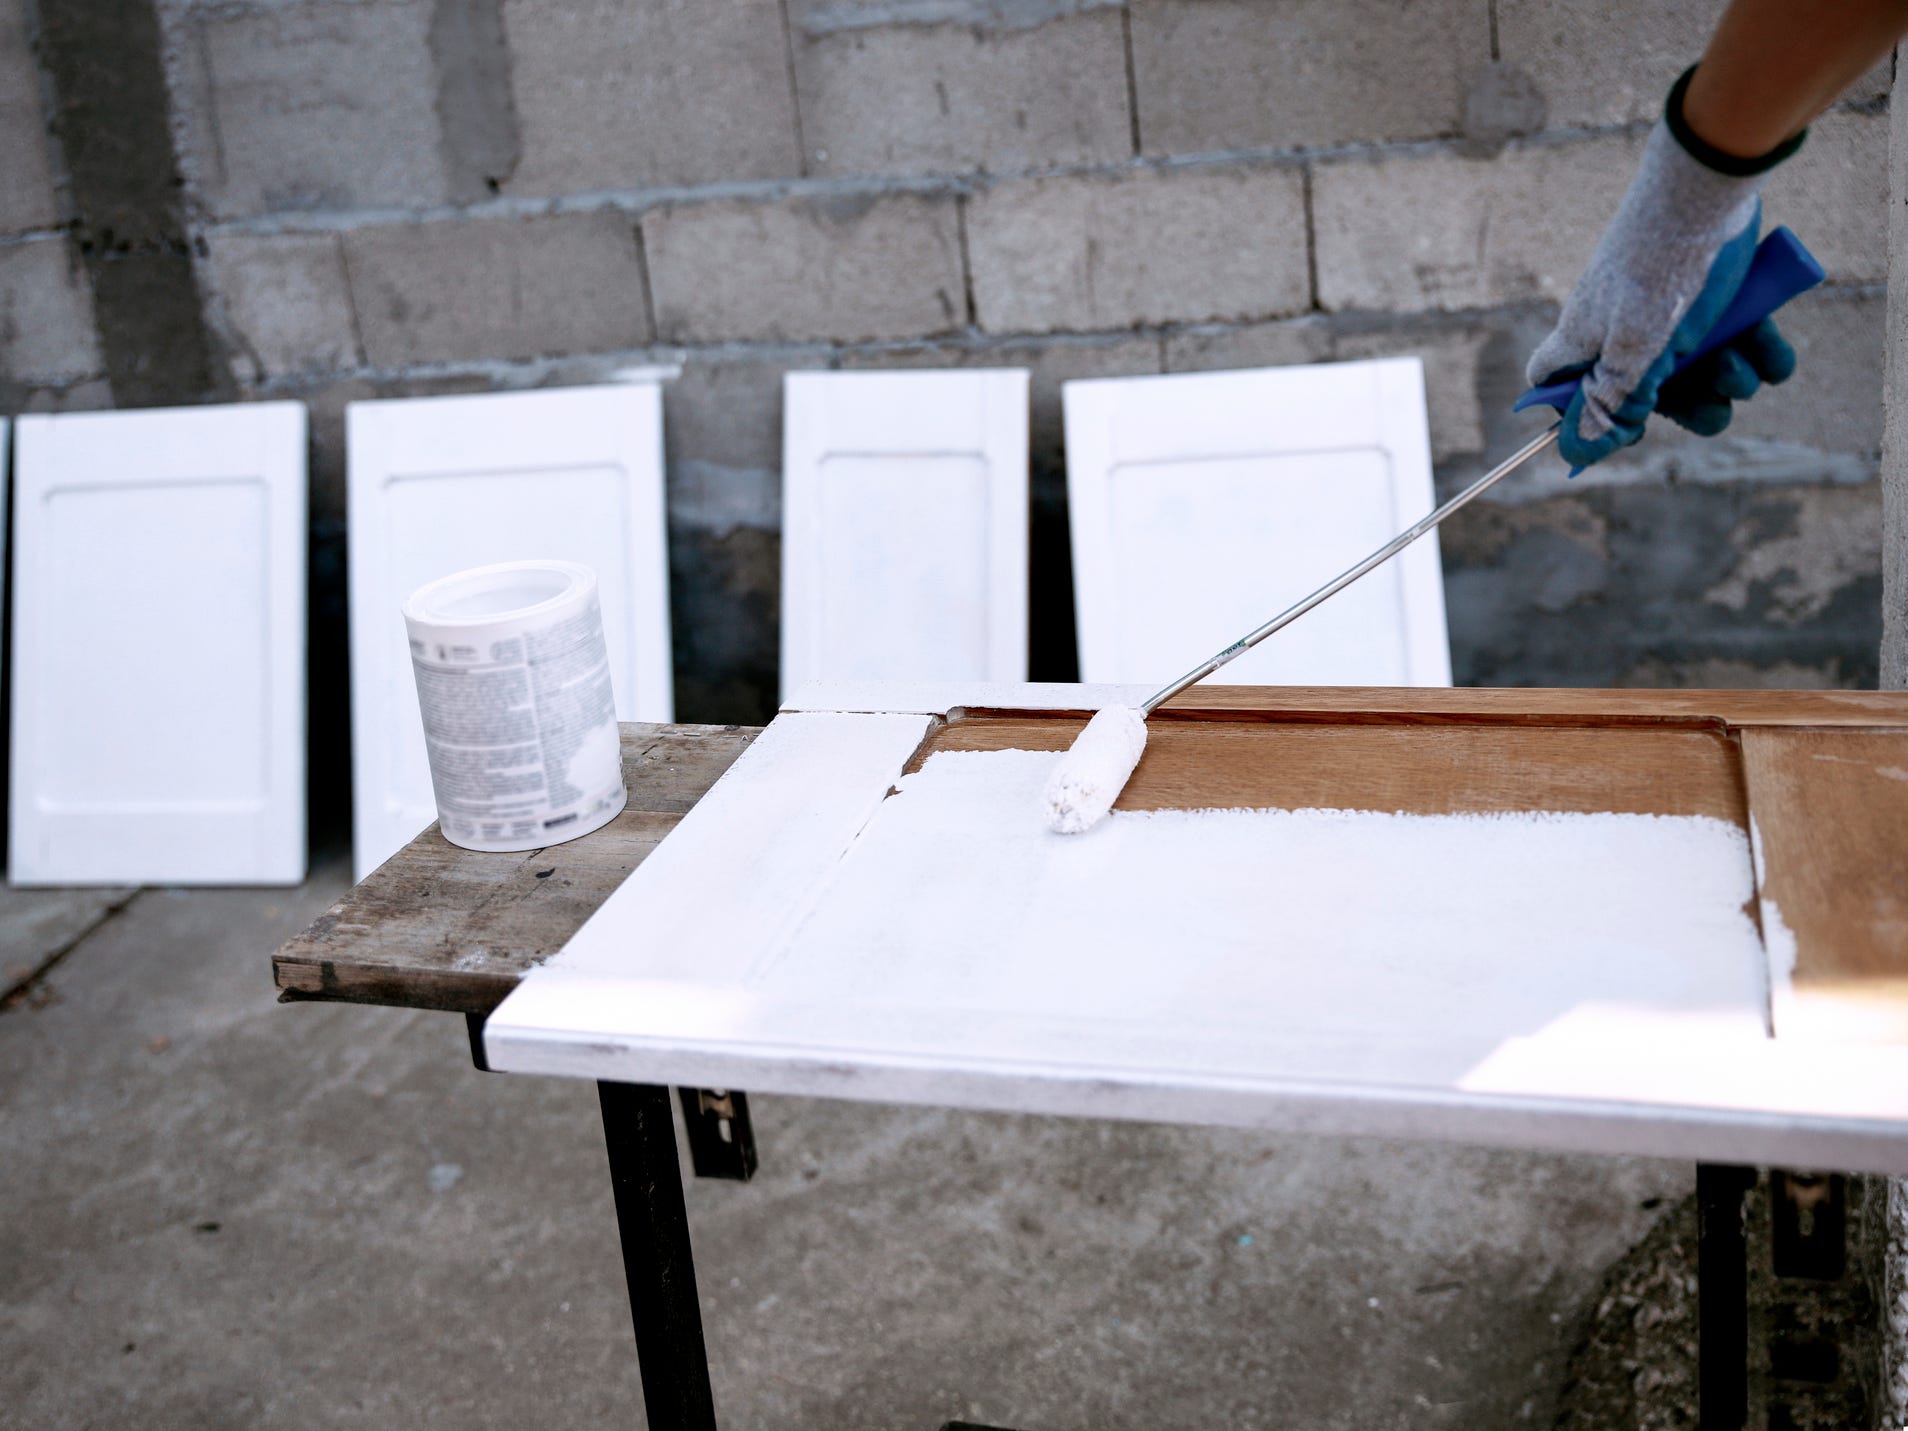
Biserka Stojanovic/Getty Images
Now that your space has been prepared and your cabinets have been cleaned, you can begin the priming and painting process.
1. Remove cabinet doors, hardware, and drawer fronts. Label cabinet doors and hardware to keep yourself organized. Using a piece of painter's tape, label the cabinet door to its matching hardware and handles. This step will allow you to keep track of placements.
2. Thoroughly sand cabinets/frames with the grain to avoid damage. Sanding opens wood pores and removes surface abrasions, says Rios, preparing it to receive the paint. If you're skipping the sanding step, make sure your cabinets/frame have been scrubbed clean and deglossed with liquid sander.
3. Prime all cabinets/frames. Rios recommends a resin-based primer, which provides a strong sealant and bond. Place primed cabinets on a paint stand to dry and keep away from your workspace. While the cabinet doors dry, prime the frames.
4. If you are sanding, lightly sand your cabinets/frames in between coats for a smoother finish. If you forego sanding, make sure your primer has dried fully in between coats. The primer should dry within four to five hours.
5. Paint your cabinets/frames. Using the wide square brush, paint the doors with the grain in an even motion. Use an angled brush for corners and moldings. Latex paint requires a synthetic bristle brush (which won't absorb water), while oil paint requires a natural bristle brush.
Use two coats of paint for an even coating, waiting about four hours in between each coat. Place painted cabinets on a paint stand to dry. As the cabinet doors dry, repeat the painting step with the frames.
6. Let dry and reinstall all parts. Like primer, paint should be dry within four to five hours. Lightly wipe the dried cabinets/frames to remove any dust. Reattach the cabinets, cabinet doors, hardware, handles, drawers, and shelves.
Insider's takeaway
Painting your cabinets is one of the easiest, most cost-effective ways to breathe new life into your kitchen. The basics of painting your cabinets are simple - know what your cabinets are made of, what primer and paint will work best for them, and decide whether to sand your cabinets.
With just a few tools and materials, a day or two to spare, and a positive DIY attitude, your kitchen just might thank you for the restoration.
