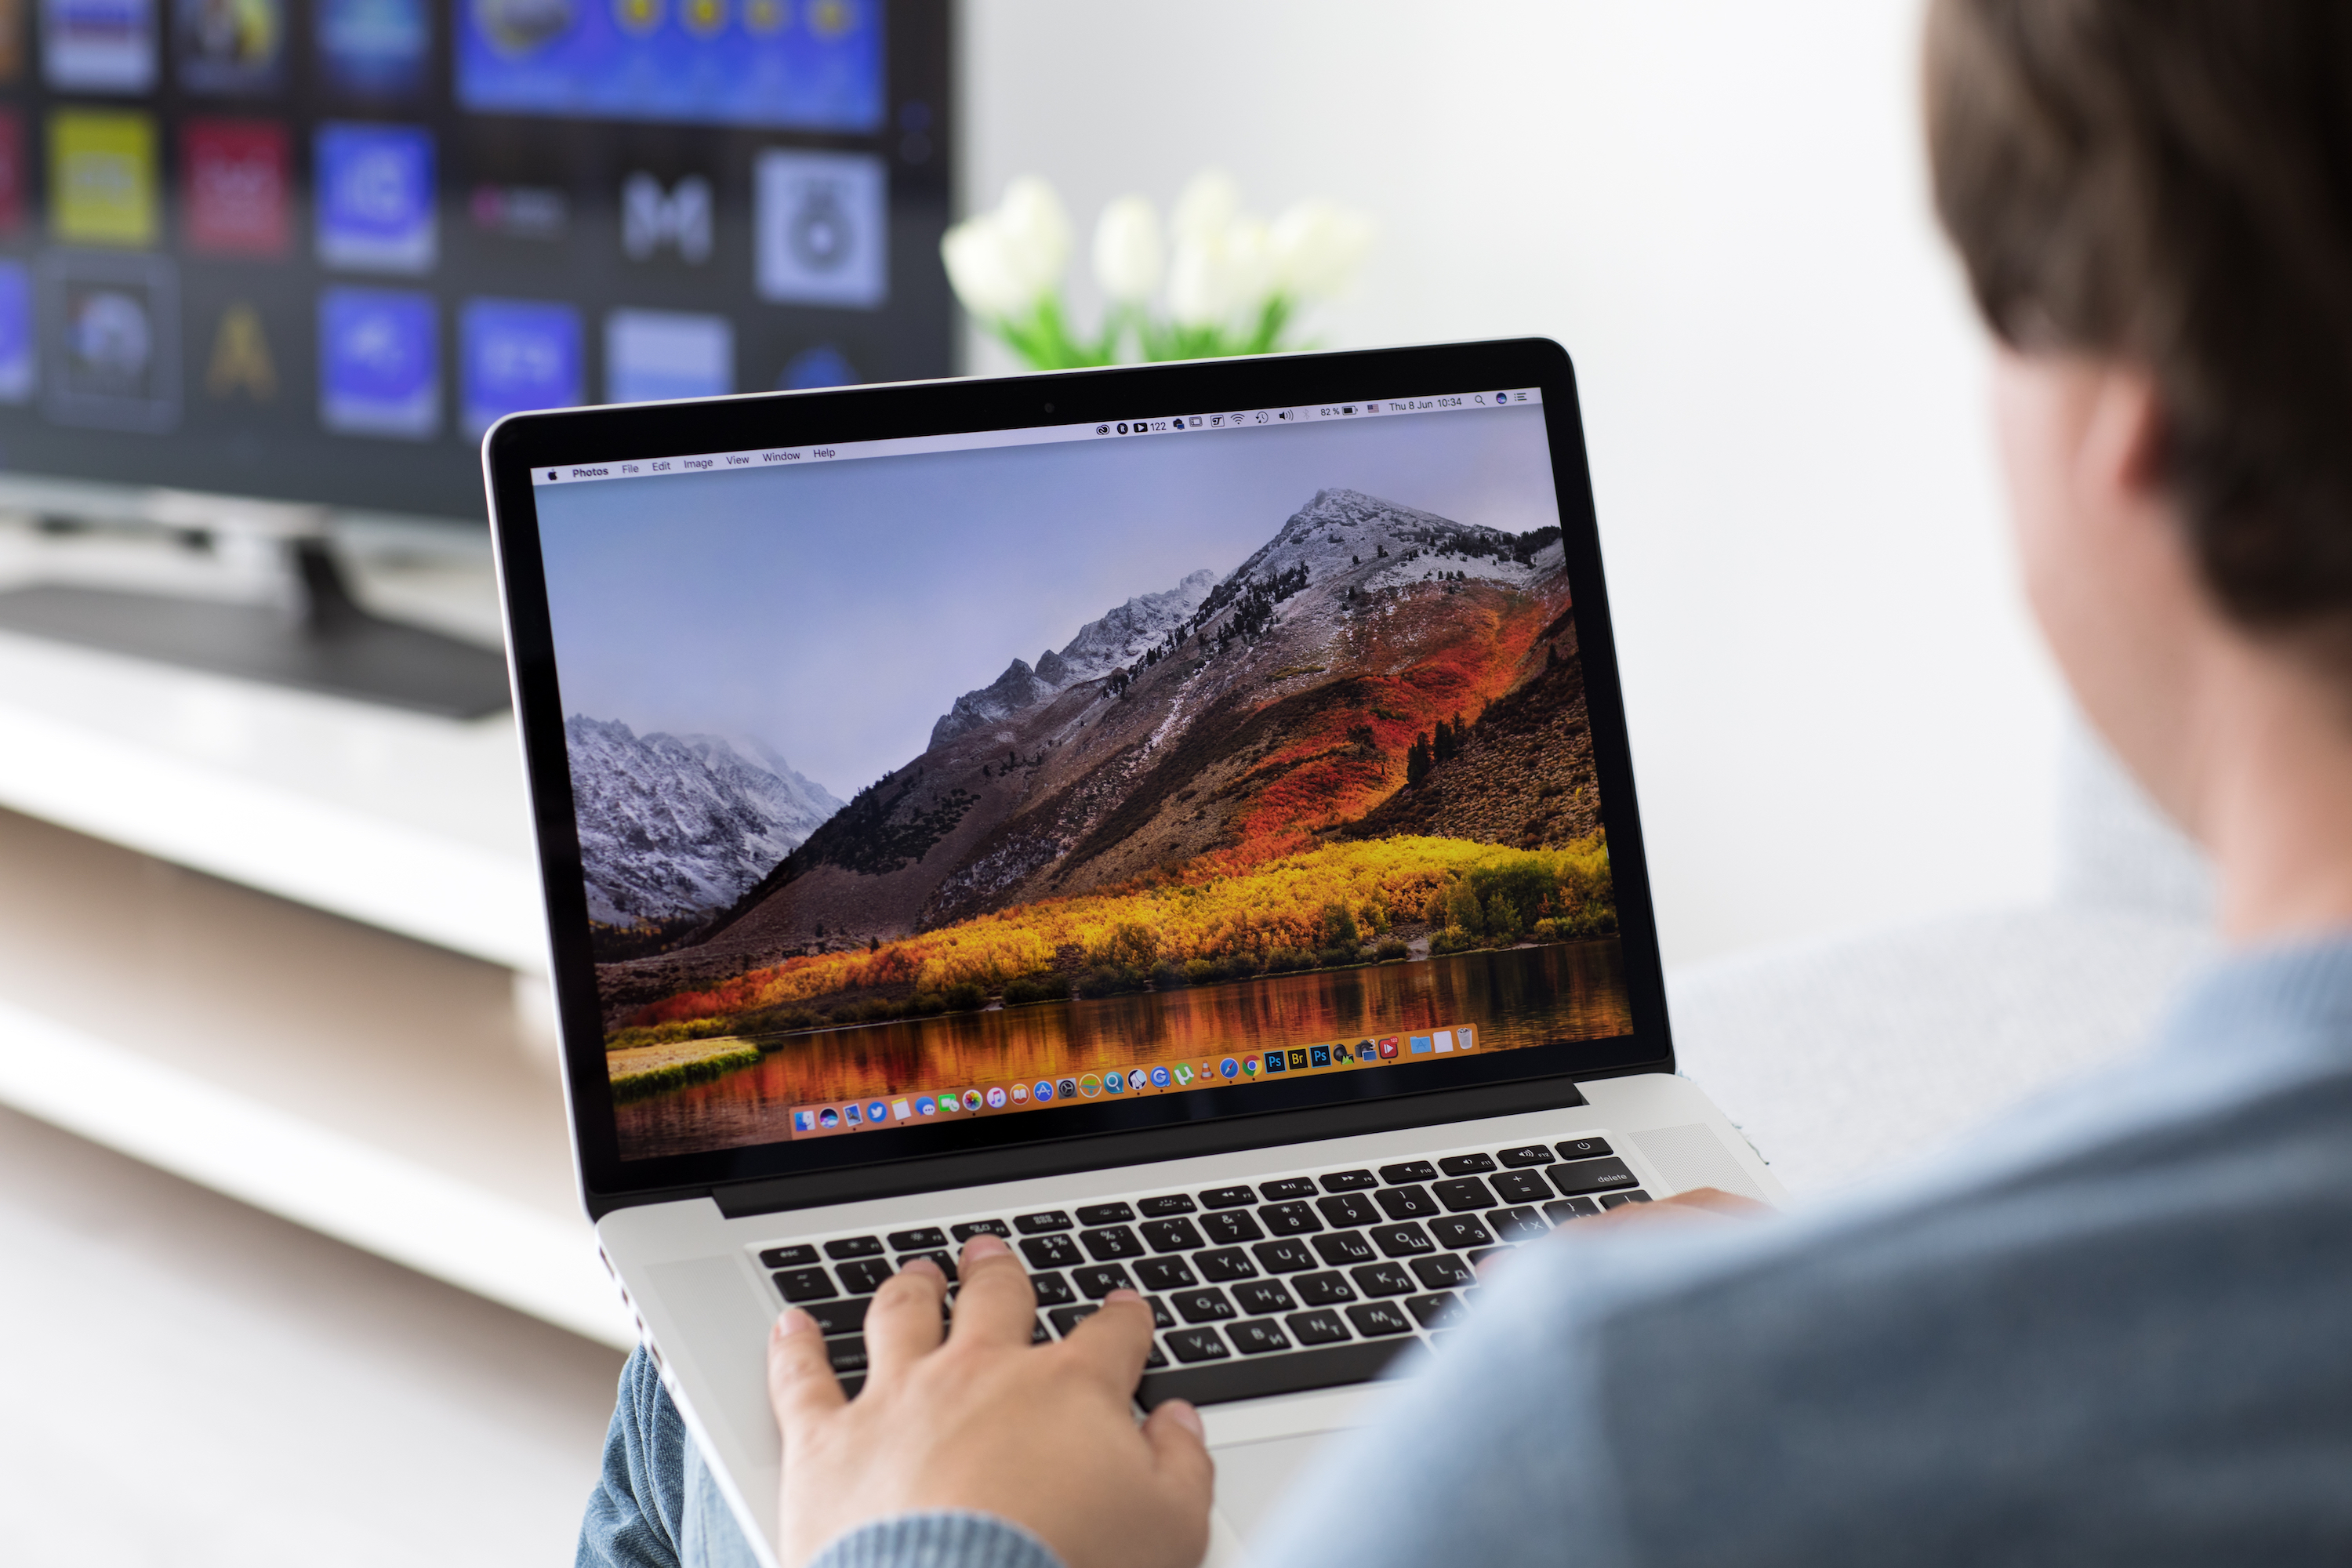
- You can connect your Mac computer to a projector for when you’re about to give a presentation or just want to hook up a home theater system.
- Apple’s software makes it pretty easy but you’ll need to have the right adapters and connectors.
- Visit Business Insider’s homepage for more stories.
Connecting your Mac to a projector, be it a desktop, MacBook Pro, or MacBook Air, is generally a cinch, provided you have the right adapters and connectors.
Check out the products mentioned in this article:
MacBook Pro (From $1,299.99 at Best Buy)
LC-dolida USB-C to HDMI Adapter (From $19.54 at Amazon)
How to find the right adapter to connect your Mac to a projector
For better or worse, Apple is a company that likes to frequently update its ports and connections on its devices. This has made them both a trendsetting company – remember when they were the first to get rid of internal CD drives? – and a frustrating one – remember how they decided to remove the headphone jack from the iPhone?
The ports that connect your computer to a projector are no different, and if you own a Macbook Pro, Air, or desktop made in the past decade, there are no fewer than four different connectors you might use. Thus, finding the correct one off the bat, as well as the right adapter for your projector, is essential for saving both time and a headache.
Check out this Apple support page to help identify which ports you have on your Mac.
For newer Macs, you're most likely going to need a Thunderbolt/USB-C adapter that outputs to HDMI or VGA, the most common input types for home theater and business projectors, respectively.
How to connect your Mac to a projector
Once you have the correct adapter, connecting your Mac is easy.
1. Plug your cord into the display output port on your Mac (Thunderbolt 3, USB-C, HDMI, or Mini DisplayPort).
2. Connect the other end of the cord to either your projector directly or an adapter that converts the signal from your Mac to the correct input for the projector.
3. Power your projector on.
4. Your Mac should automatically detect the display and project the image of your desktop on the projector.
How to modify your display settings on a Mac
Now that you're connected, you might need to make a few tweaks to get your projector working the way you'd like. To modify your display settings:
1. Open up System Preferences from your Dock or by clicking the Apple icon in the top menu and selecting "System Preferences..." from the dropdown menu.
2. Select "Displays."

3. Click "Arrangement" to change whether you want to use your projector as a second screen or select "Mirror Displays" to display exactly what's on your Mac desktop.

Alternate route: The wireless streaming option
If you don't want adapters and the tangles of a wired connection, streaming sticks are a reasonable option.
If you're planning to stream specific media, like Netflix or share your desktop or a presentation, a streaming stick like Google's Chromecast (Amazon's Fire Stick doesn't support screen mirroring on macOS) replicates much of the functionality of a wired setup, but only needs to be plugged into the back of your projector or entertainment system.
Although, you will need a Wi-Fi connection for it to work.
Related coverage from How To Do Everything: Tech:
-
How to screenshare on a Mac computer, to make presentations and projects easier
-
How to go live on Facebook from your computer or mobile device
-
How to connect your Mac computer to a Bluetooth speaker for streaming audio
-
How to change the name of your Mac computer in 4 steps, so that it's easier to find on your local network and AirDrop
