Gary Houlder/Getty Images
- Knowing your wallpaper and wall type are important before beginning any removal method.
- Use any combination of dry-stripping, solvents, and steam for the best results.
- Don't be afraid to ask a friend for help and take your time to avoid DIY-induced frustration.
- Visit Insider's Home & Kitchen Reference library for more stories.
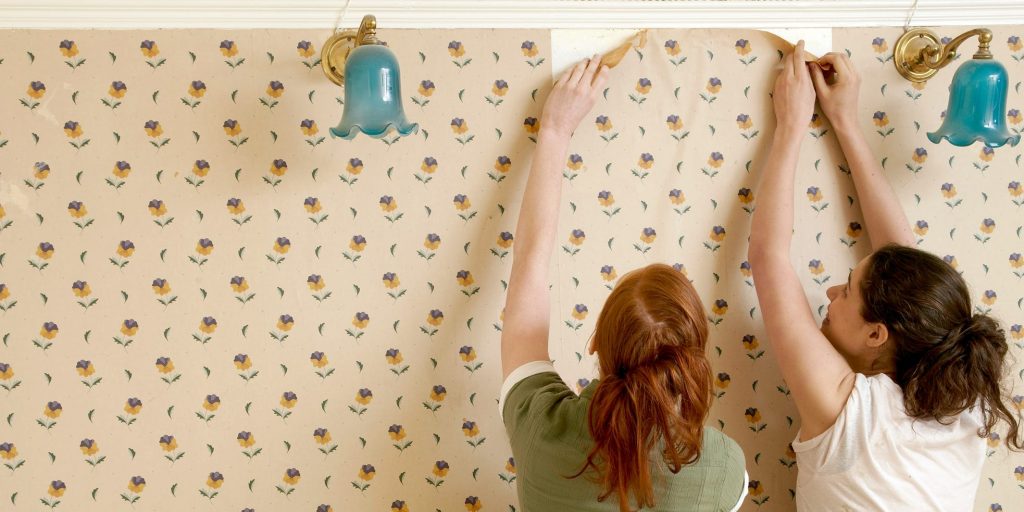
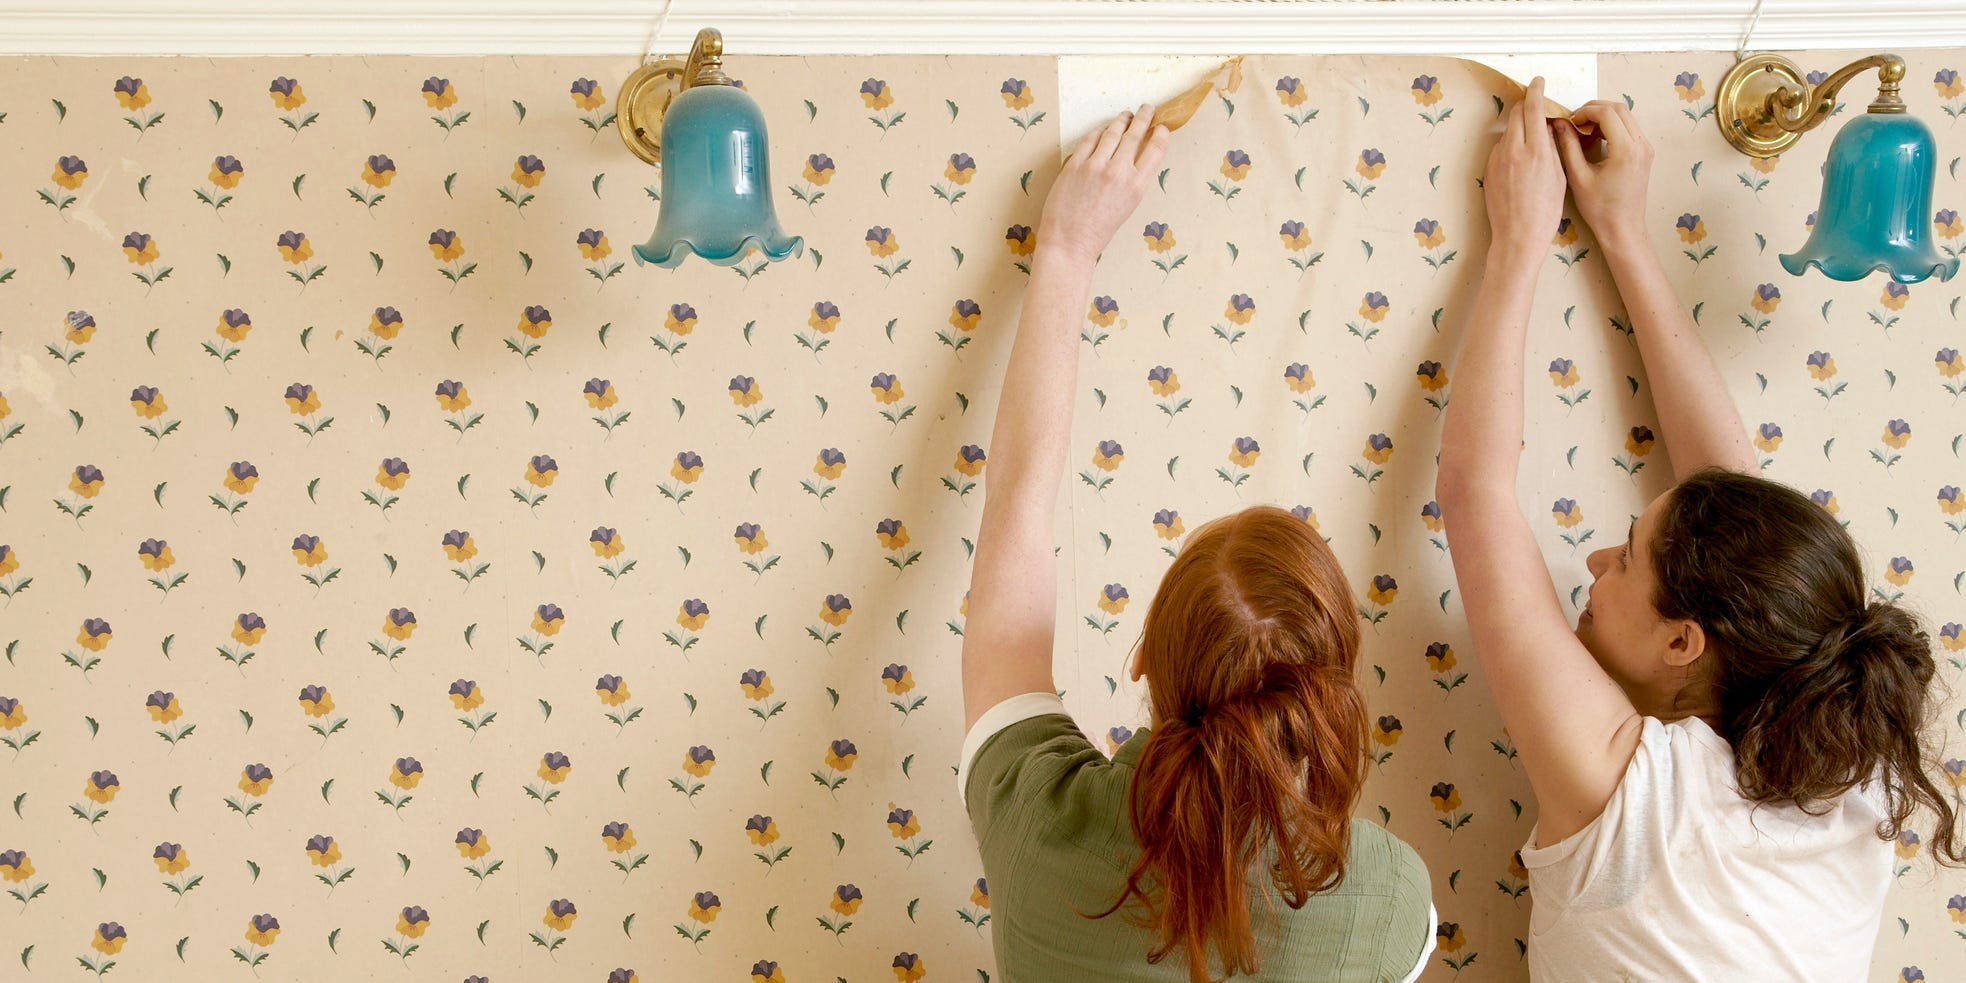
Wallpaper and gravity have one thing in common – what goes up must come down. Whether you're looking to switch up your wallpaper or need to clear the walls for the next tenant, removing wallpaper can seem like a daunting task. But with the right tools and patience, removing wallpaper can become your new favorite home project.
"DIY wallpaper removal is a test of endurance and patience. There's no telling how stubborn patches of wallpaper will be until you're actually tackling the project," says Sarah Fogle, creator of Ugly Duckling House, a DIY renovation blog and YouTube channel.
Before beginning your preferred method of removing wallpaper, prep the area by making sure you have the right tools and materials. Protect floors, furniture, and yourself from any debris and potentially harmful substances. If you're removing wallpaper from more than one wall, you may want to ask a friend for an extra hand.
Know your wallpaper and wall type
tirc83/Getty Images
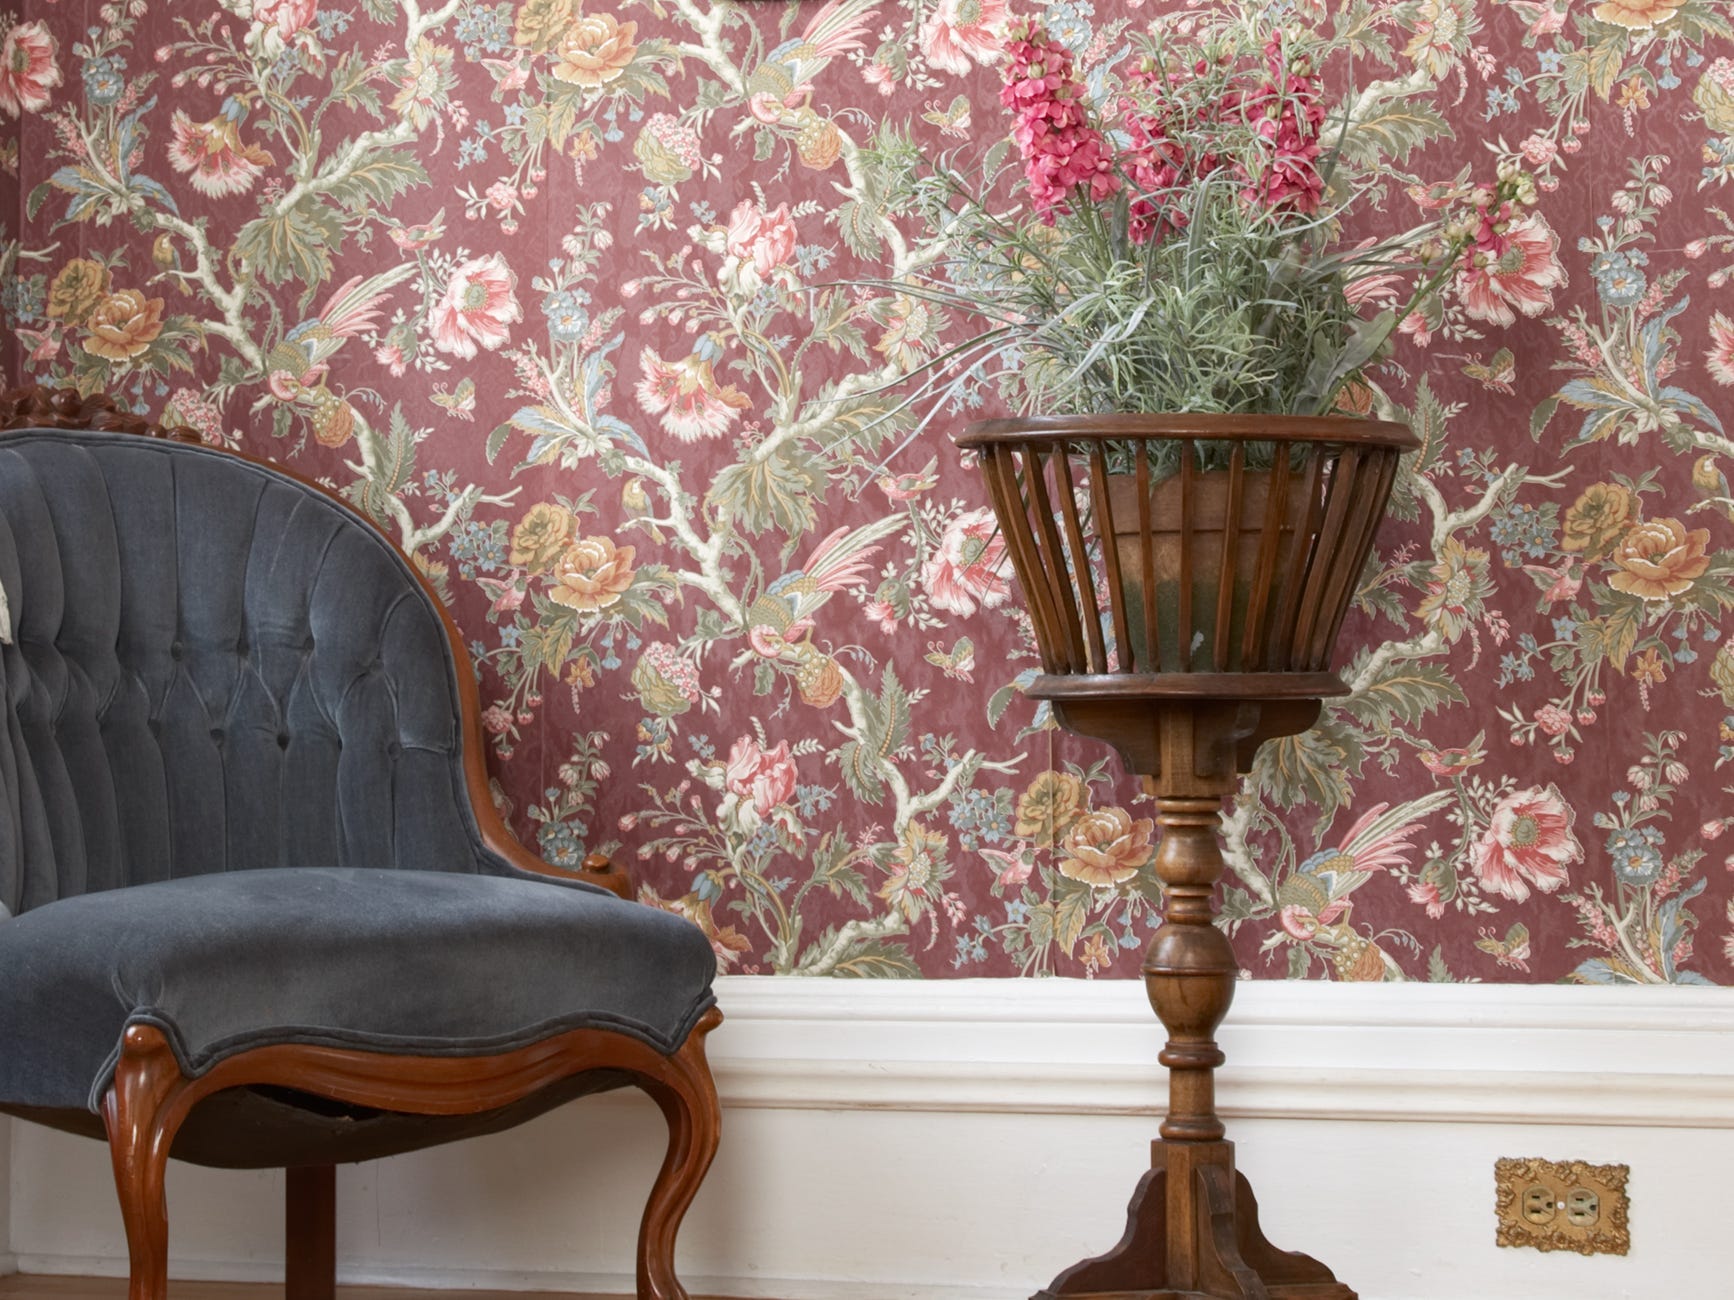
Depending on the type of wallpaper you have, the removal method will vary. There are three common types of wallpaper.
- Traditional wallpaper: Usually made of vinyl or non-woven mixture, traditional wallpaper uses a paste or other type of strong bonding that requires more equipment to remove and will not budge when you attempt to strip it.
"Traditional wallpapers are often sealed or have a vinyl top layer, meaning the backing can't be penetrated easily, which is by design to keep it pristine for as long as possible," says Fogle.
- Peelable wallpaper: This type of wallpaper has two paper layers. When removed, one layer remains on the wall, which can be taken off with a liquid solvent.
- Peel-and-stick or removable wallpaper: This wallpaper includes backing adhesive that can be easily peeled off in one piece and can be stored and reused.
Knowing the material of your wall is also key in both applying and removing wallpaper. Most walls are either drywall (gypsum sandwiched between sheets of thick paper) or wooden lath coated with plaster (gypsum and other rock materials).
There are also walls made of concrete and brick, which are porous surfaces that typically require liner wallpaper to be applied first.
Removing traditional wallpaper from any type of a wall is a similar process, but removal from drywall takes more precision and caution to avoid damaging the wall itself. Below are three wallpaper removal methods that can be used alone or in combination with one another to remove even the most stubborn wallpaper.
Method 1: Dry-stripping
elenaleonova/Getty Images
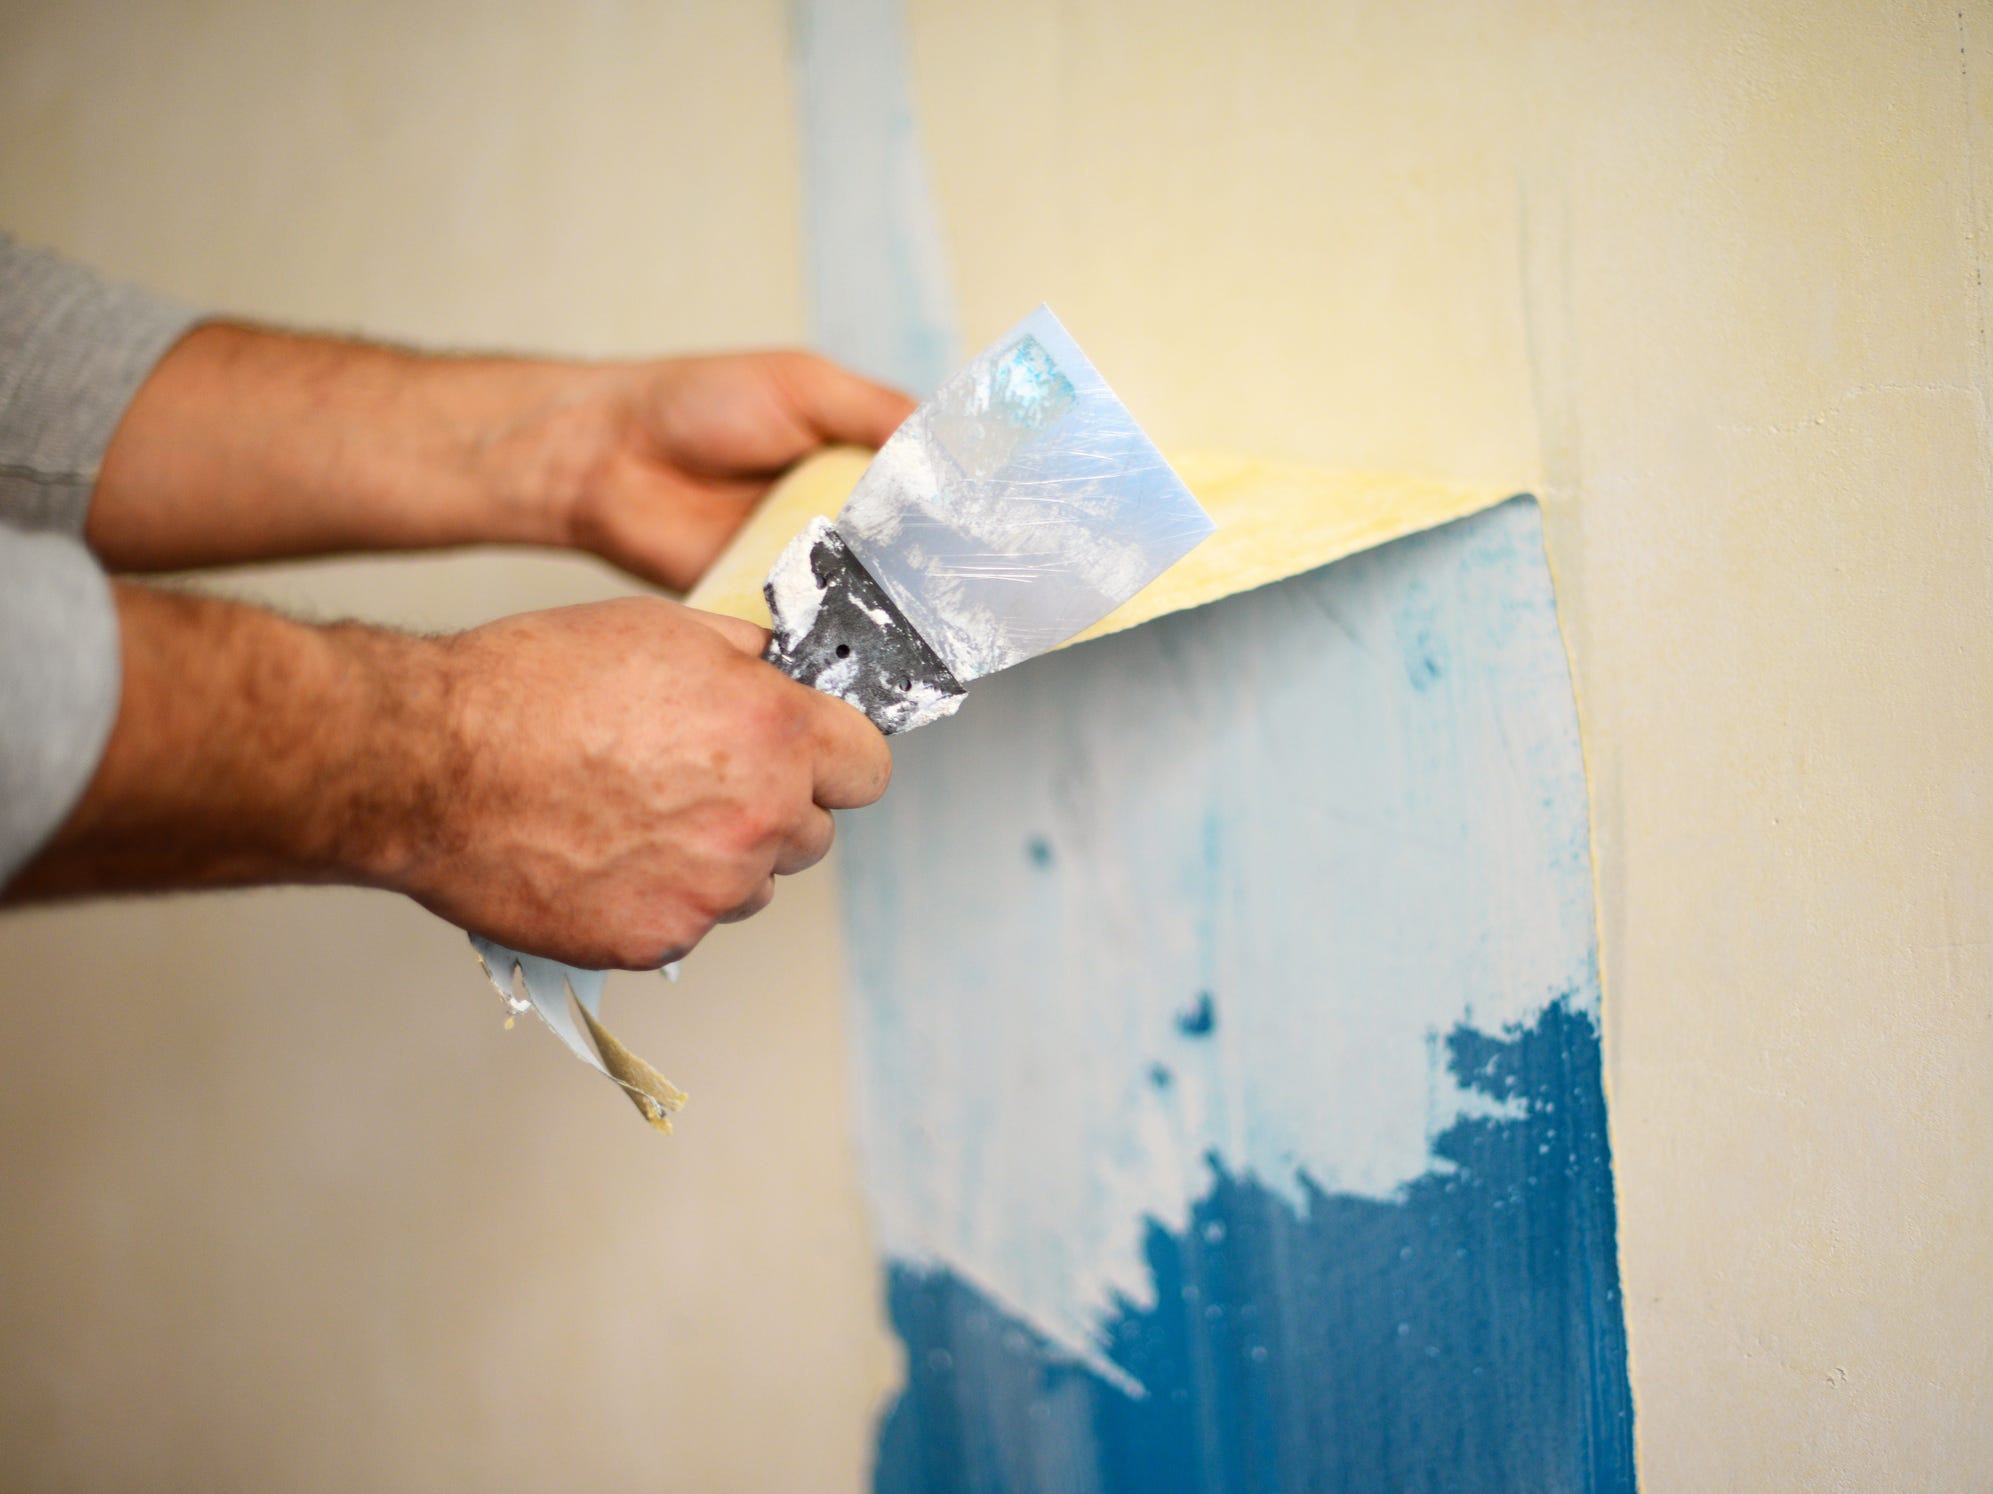
Dry-stripping is typically not a method used on its own when removing wallpaper, rather a first step when removing wallpaper with liquid solvent or steamer. However, some wallpapers, like peelable ones, will come off well enough that new wallpaper can be applied afterward or the wall can be painted over.
1. Gently insert your putty knife under a wallpaper corner. While hand stripping typically begins closest to the ceiling, Fogle finds it easier and quicker to strip from the bottom up.
2. Using both hands, peel slowly at a 10-15 degree angle to prevent wall damage. Strip off as much of the wallpaper as you can.
3. Gently clean your wall with a dry rag or sponge to clean off any hanging paper debris. If your wall was left with minimal strips of the second paper layer, you can then re-paper or paint over your wall. You can also use the liquid solvent method to get rid of any small strips left behind.
Method 2: Liquid solvent
FotoDuets/Getty Images
For peelable two-layer wallpaper, Fogle recommends first dry-stripping the top and thickest layer of the wallpaper first. "You want the bottom paper layer to remain. It's here that the liquid solvent can work its magic," says Fogle.
While a store-bought wallpaper remover solvent is the best option for convenience, homemade solutions can get the job done just as well and can be a great non-toxic solution.
Fogle suggests a fabric softener solution (one part fabric softener to three parts hot water) or a vinegar solution (one part white vinegar to two parts hot water). Both vinegar and fabric softener work to soften and break down wallpaper adhesives and bonding.
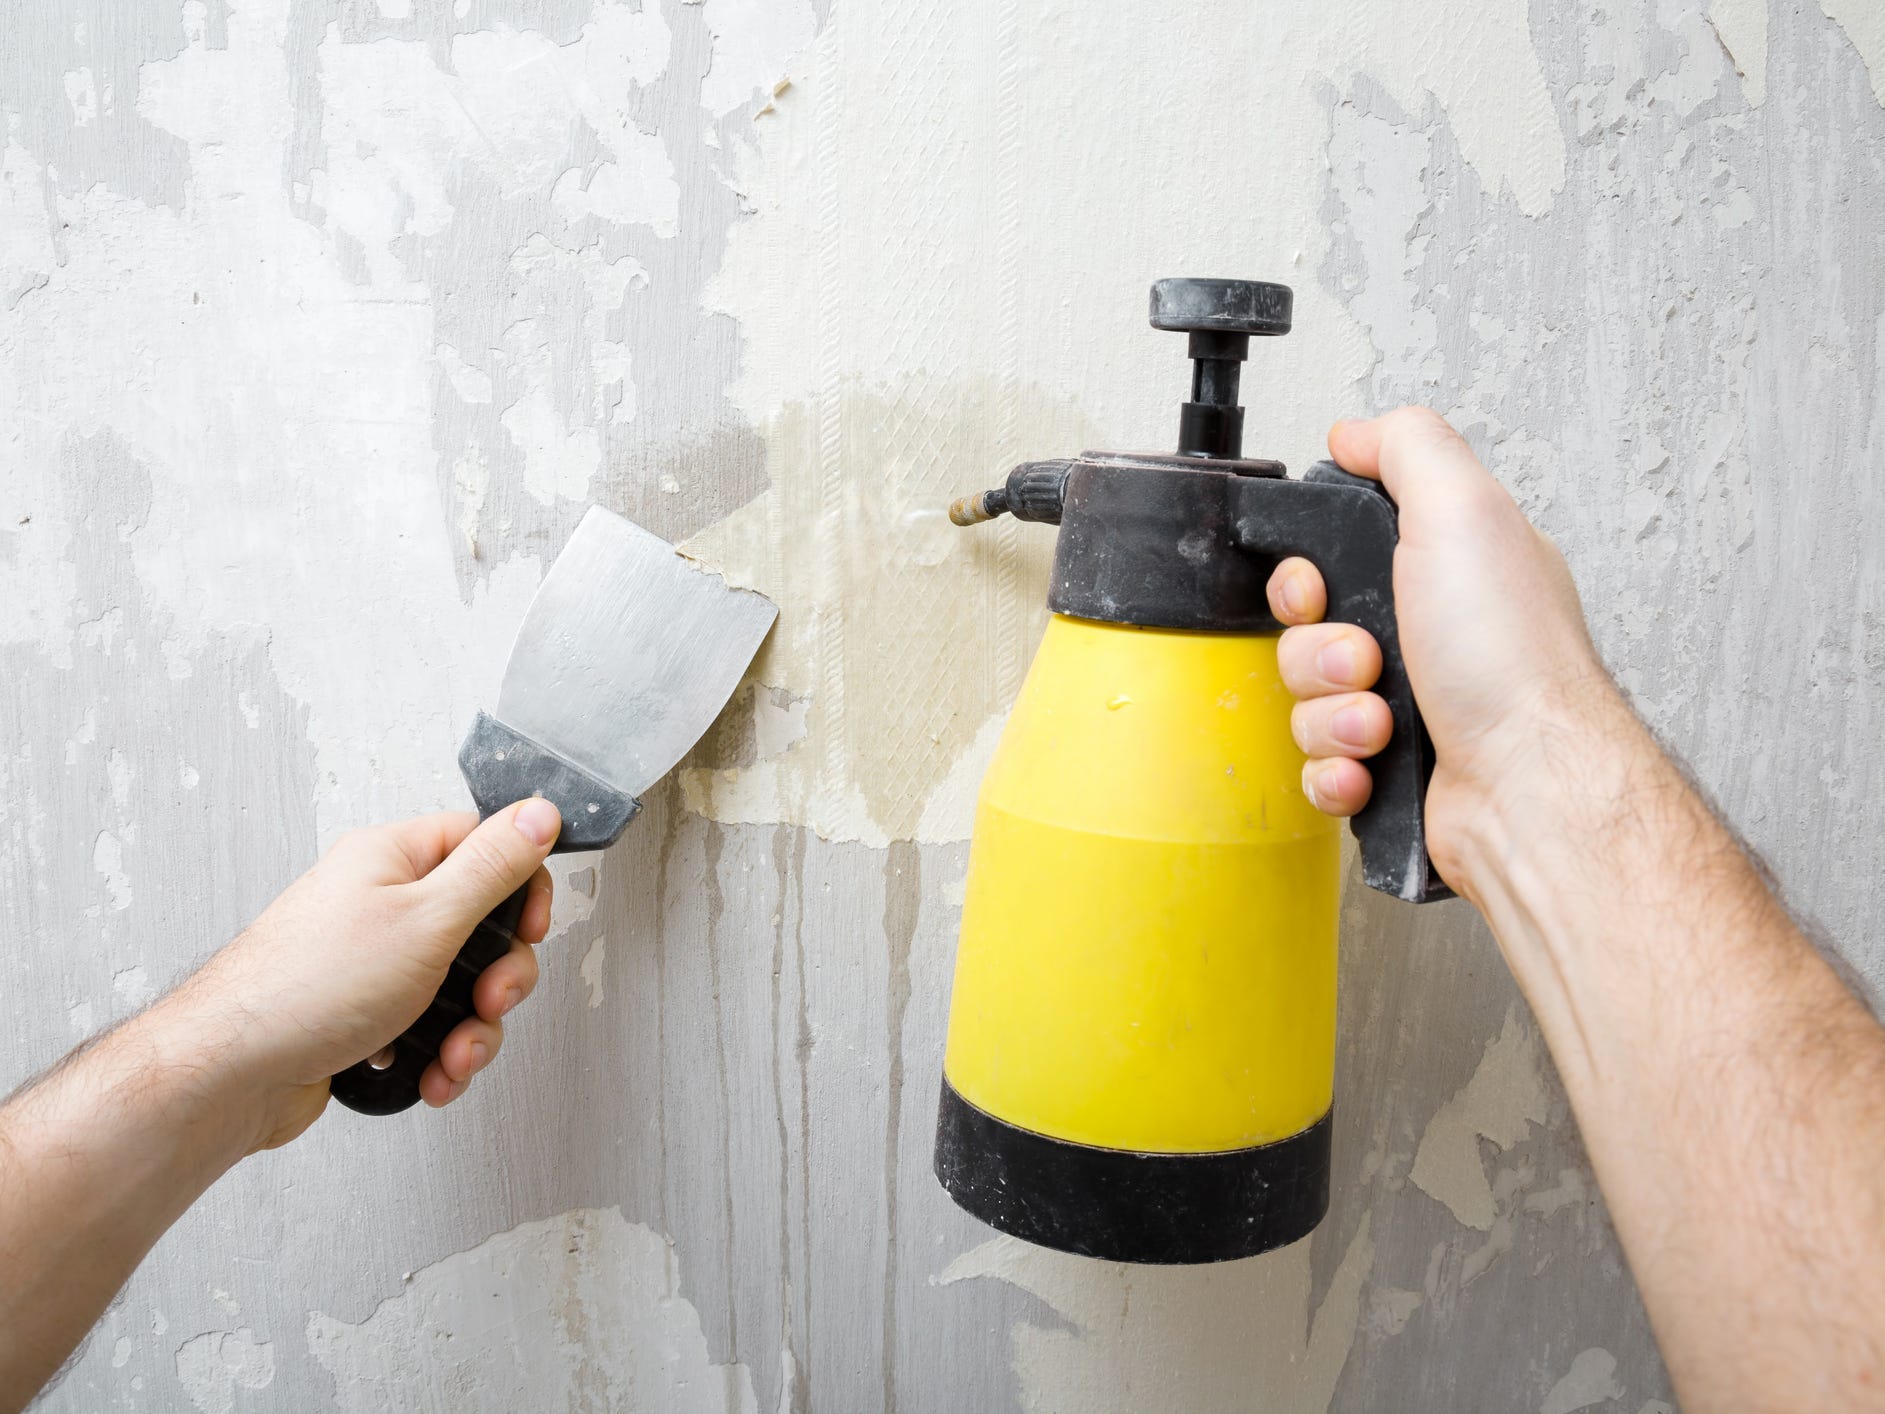
1. Mix the solvent. Combine store-bought commercial liquid solvent with water in a spray bottle, according to the solvent's directions. If you're using a homemade solution, pour it into a spray bottle and make sure it is warm to hot.
2. Spray the solution on a portion of the wallpaper and wait five to ten minutes. To avoid damaging your walls or oversaturating them with solution, work in small sections. As the solution soaks into the paper, you'll be able to see your wallpaper start to break down.
3. Peel off the wallpaper with your hands or gently with a putty knife. Repeat this process until all the wallpaper and adhesive residue have been removed.
Method 3: Steam
Christopher Ames/Getty Images
Using steam to remove wallpaper is typically reserved for the most stubborn or old wallpapers and as a last resort method.
Steam removal is not recommended for drywall because of its vulnerability to water damage. In this case, it is preferable to hire a professional to remove wallpaper from drywall.
If you want to steam off wallpaper yourself, specialized wallpaper steamers can be bought rather affordably or rented from your local home improvement store.
1. Start by opening all windows and doors in the room. The steaming process introduces a lot of moisture.
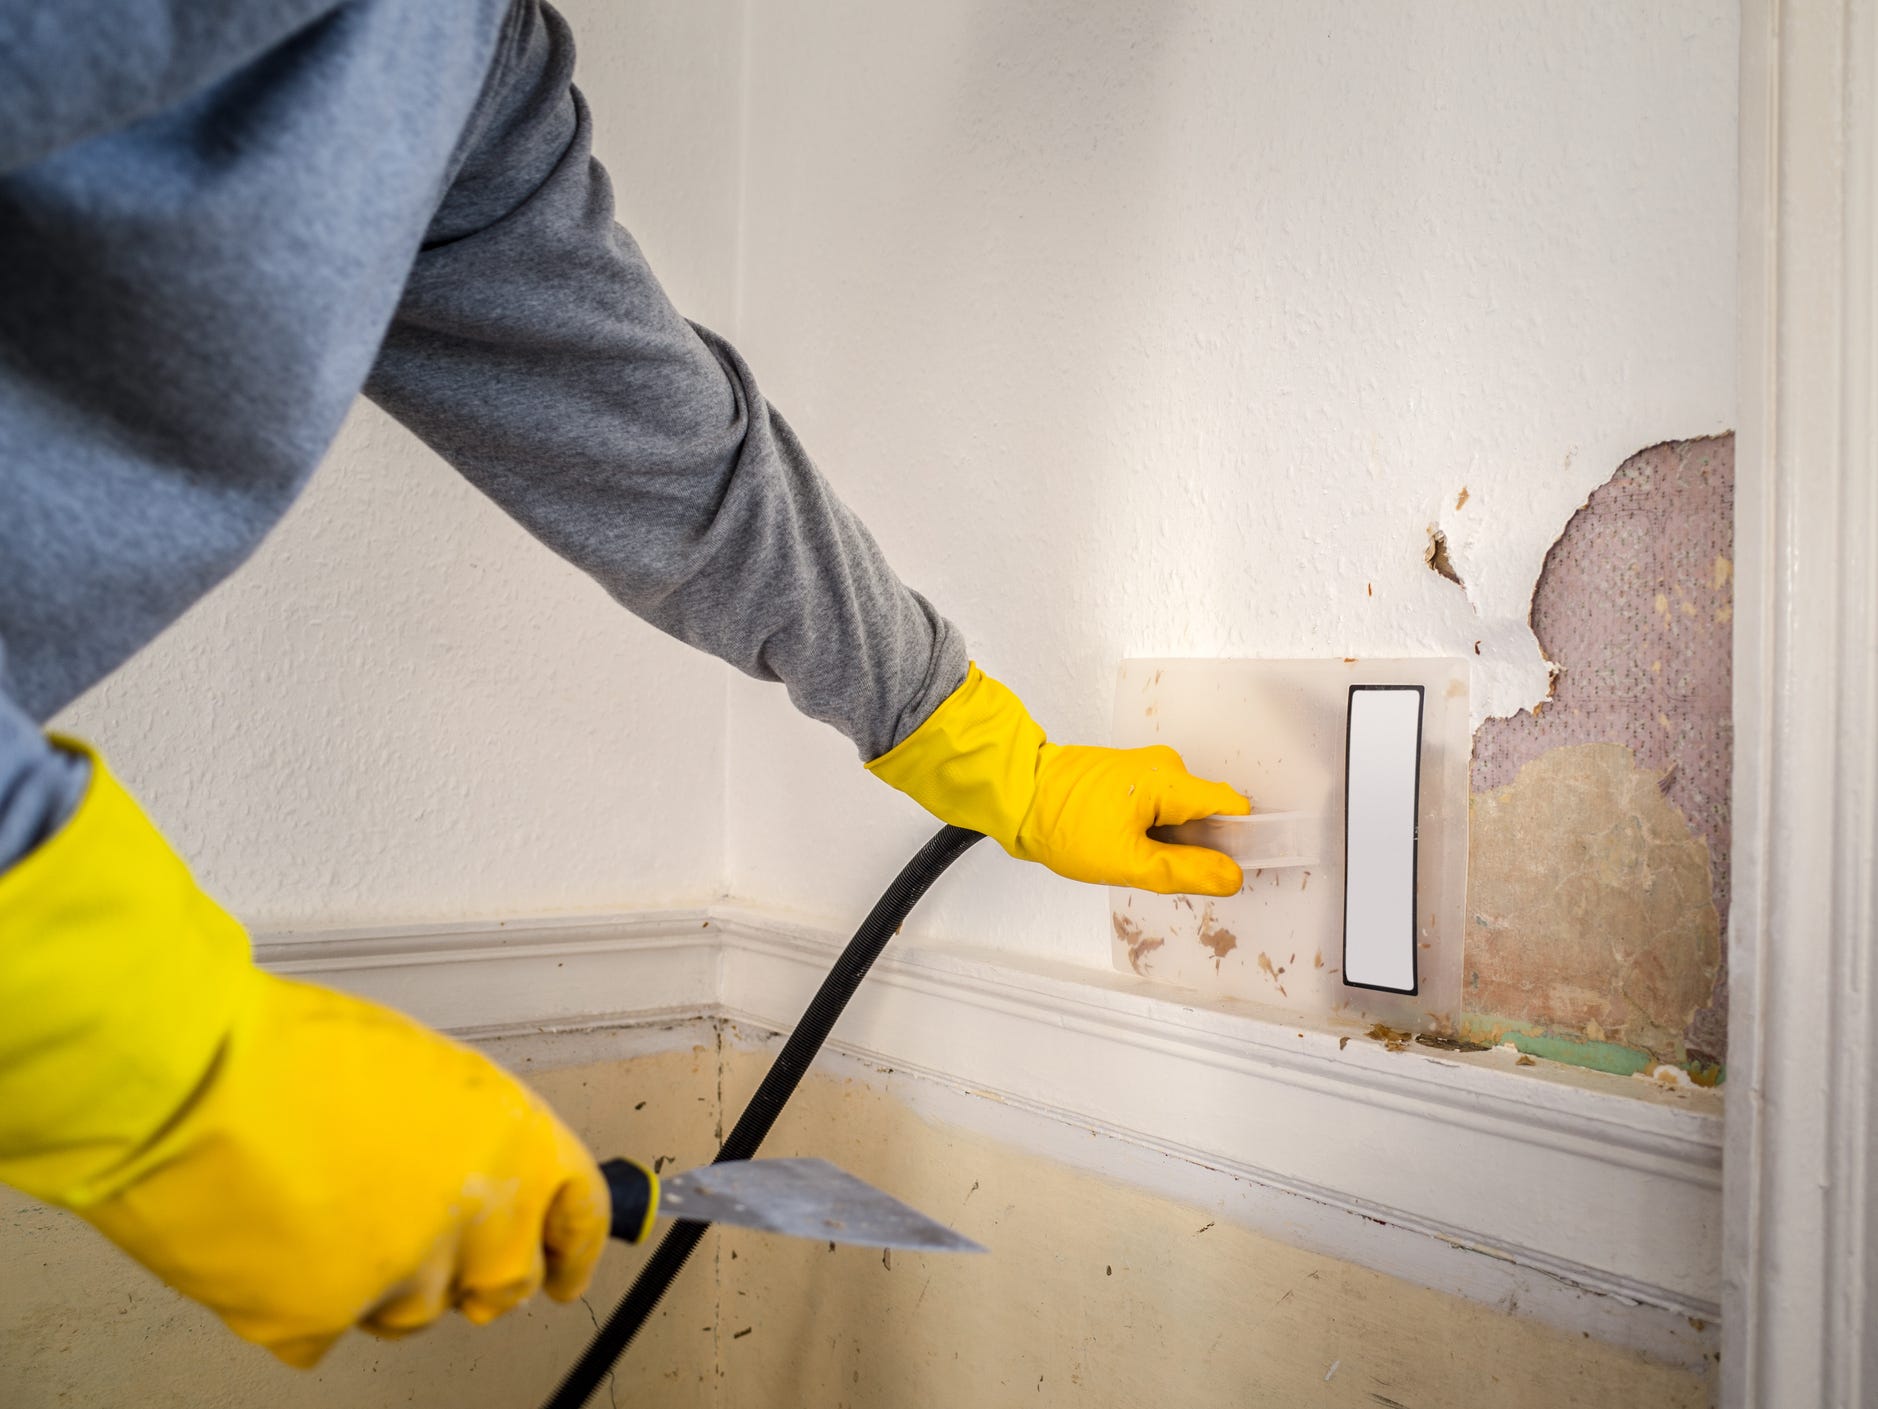
2. Use your scoring tool on the entirety of the wallpaper. This will create small holes for the steam to penetrate to break down the wallpaper adhesive.
3. Apply the steamer directly onto the wallpaper. Be mindful of applying too much pressure or leaving the steamer in one spot for too long as this can damage the wall.
4. Once the wallpaper has been loosened evenly, use a putty knife or scraper to carefully remove the wallpaper. Do not use your hands as the steamed wallpaper can cause burns.
How to remove temporary wallpaper
Whether you know it as adhesive, peel-and-stick, or Tempaper, removable wallpaper is a simple and beloved alternative to traditional wallpaper. The best part is that most removable wallpaper is also reusable. Be patient as you remove to keep it pristine so you can reapply it later.
To remove it, start at either top corner and gently pull straight downward. Do not stretch the wallpaper or let the adhesive backing stick to any other surface.
If you want to store reusable wallpaper, be sure to keep the backing and reapply it once you've removed the wallpaper. Store in a cardboard tube in a cool, dry place.
Can you paint over wallpaper?
PIER/Getty Images
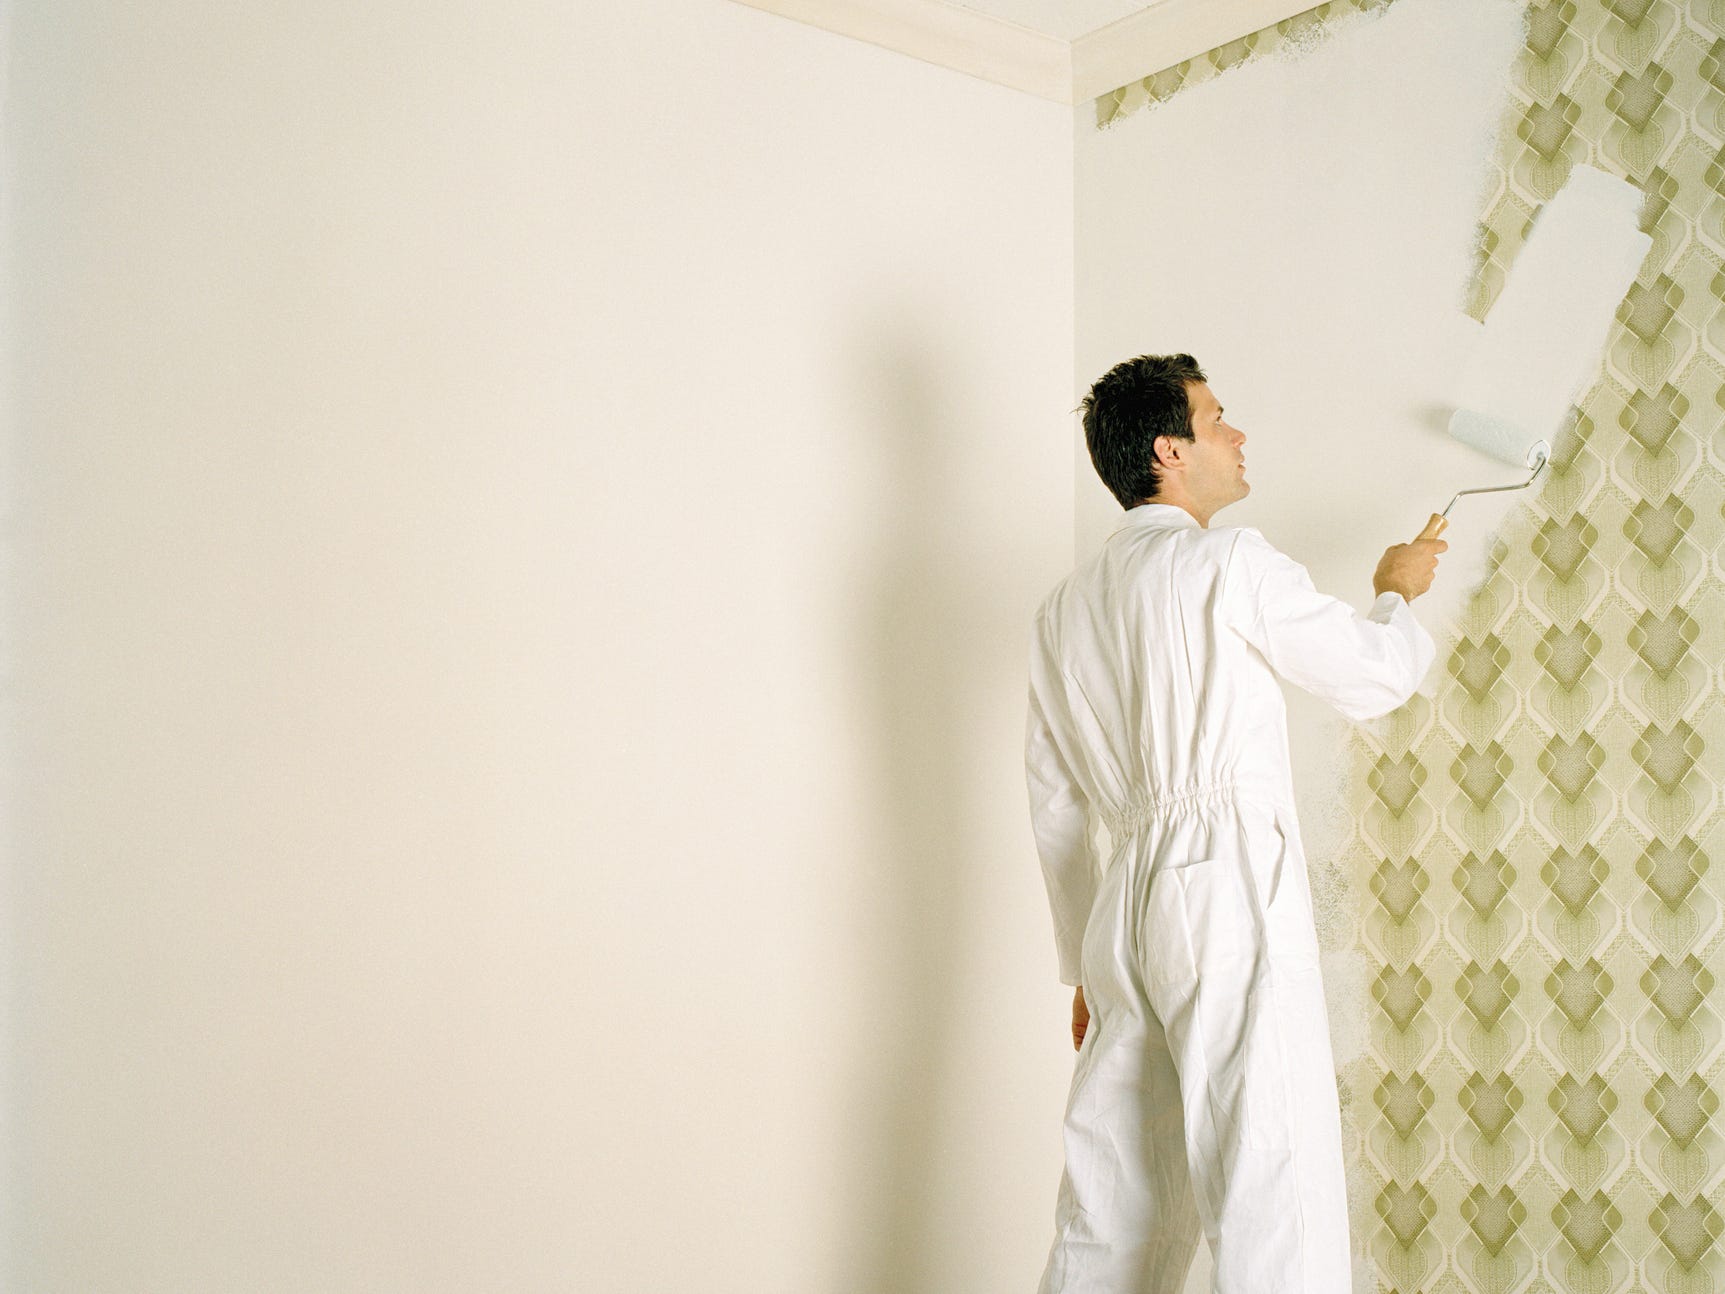
Painting over wallpaper isn't actually removing it. But it can be a last resort, especially when removing the wallpaper can risk damage to the wall. While Fogle believes that "just because you can paint over wallpaper doesn't mean you should," there is a proper way to get the best results.
Your wallpaper can be a good candidate to be painted over if it is not textured, does not have a vinyl coat, and is on a wall in a small room like a bathroom where the labor of stripping or steaming may not be worth it. Be sure to also check that your wallpaper is not degraded, bubbled, or already stripping off.
Fogle recommends avoiding two-in-one primer/paint combos which prevent the paint from bonding to the wall. Oil- and shellac-based primers are the best base coat for painting over peelable wallpaper, but if you need reassurance, get advice from your local hardware store.
1. Prepare your wallpaper/wall. Gently go over it with a dry cloth to make sure your paint goes on smoothly.
2. Prime your wall with one coat and let dry for several hours or overnight. Keep a window or door open if possible to air out the primer scent.
3. Once it's completely dry, paint over the primed wallpaper using one or two coats of paint depending on the pattern of the wallpaper and color of the paint. Starting with one coat of paint and waiting a few hours is recommended before using a second coat.
Insider's takeaway
The key to a successful DIY wallpaper removal is knowing your wallpaper and wall type, and deciding which method, after dry-stripping, will work best for you and your home.
DIY projects like this one offer a unique combination of frustration and a sense of personal accomplishment, so it's always important to know your limits and how to fix those stubborn spots. With the right method and materials, you can design a home through your own creations and projects.
"Keep an intact piece of that ugly old paper to frame. It will be a reminder that you are a DIY badass and can conquer difficult things," says Fogle.
